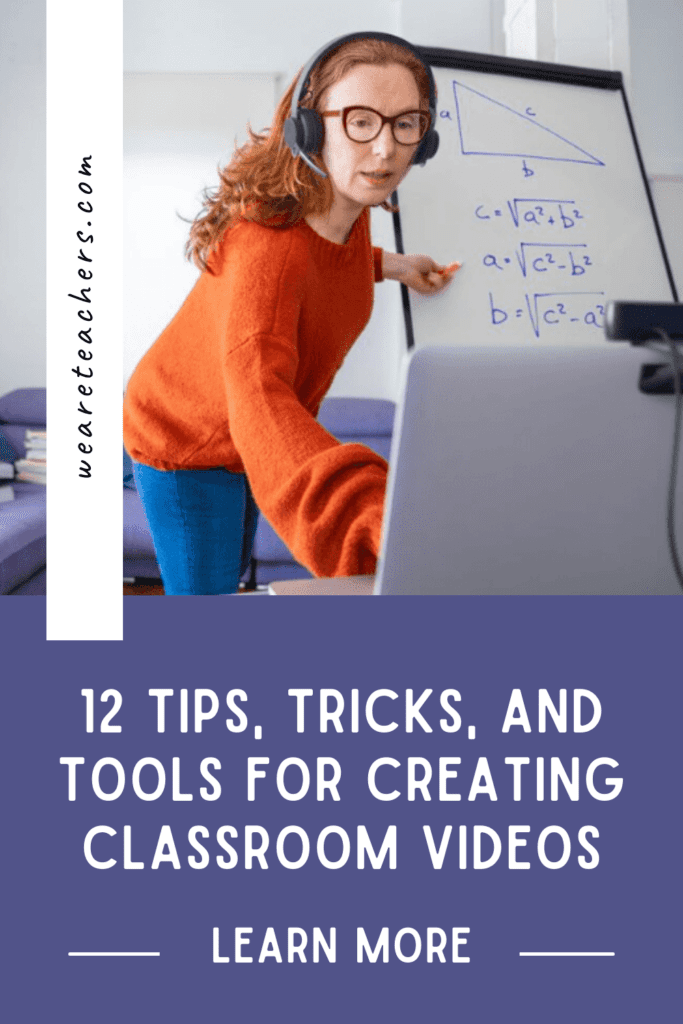
Video content transforms the way students learn. Flipping content we’d traditionally present live during class into a recorded video format lets students access information at their own pace and gives teachers more class time to delve deeply into class discussions, support individual student needs, and clarify misunderstandings. Some teachers are even using platforms like YouTube and TikTok to engage students through channels they’re already using in their personal lives. By figuring out ways to be more visual in the ways we teach, classrooms become places where we help students apply what they learn while providing one-on-one support when needed. Here are some helpful tips, tricks, and tools for making flipped classroom videos that will change the way your students learn for the better.
1. Invest in a good microphone.
If you have the chance to invest in one video creation tool, go for a really good microphone. Poor audio quality leads to a decrease in student engagement, according to research from Texas Tech University. A mic like the Snowball USB microphone can make you feel like a rock star while dramatically improving the clarity of your audio. Think about it as a long-term investment. When you record instruction, there’s a good chance you’ll use the material year after year. If you start with a mic that records quality audio, you’ll save yourself time down the road. As an added bonus, the Snowball mic can also be used in a classroom setting to amplify teacher and student voices.
By the way, if you want to super-splurge, check out this noise-canceling headset with a microphone from Logitech. It’ll really put you in the zone when making flipped classroom videos.
2. Find your best light.
Do yourself a favor and make sure the lighting in your space illuminates you and any other objects you plan to feature on camera when making flipped classroom videos. Natural lighting is wonderful, so consider the time of day you record your videos. If you need to add more lighting, try one of these ring lights to improve your video quality and screen appearance. You can also check out these tips for looking your best on video.
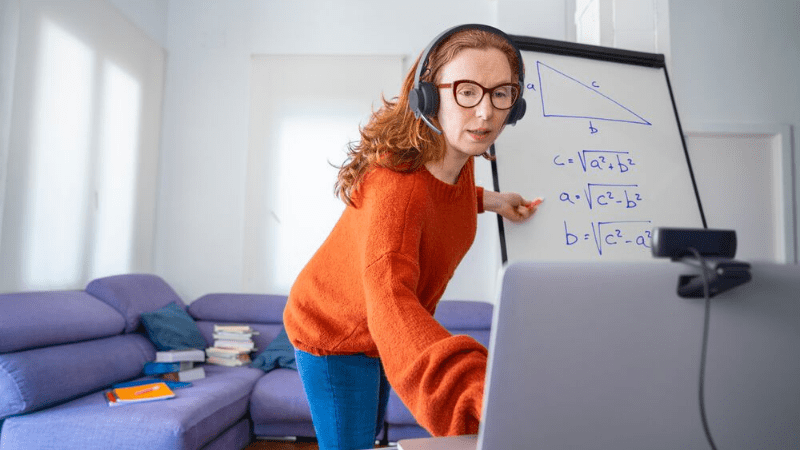
3. Add a second camera.
Research published in 2020 by the Journal of Educational Psychology suggests that when teachers appear in videos where students can clearly see body language cues and eye contact, there is better student engagement. If you really want to elevate the experience for your students, use two cameras to show different angles or content. Just connect a secondary camera through Bluetooth or USB. Then essentially, you use a screen share or choose an alternative camera view. When you do this, students can still see you giving instruction while you model the work.
The Mevo Start live-streaming camera helps educators combine this functionality in one place. It’s compact and lets you stream to multiple platforms. Plus, it comes with a mobile app that makes editing easy. Mevo Start is perfect for creating digital lessons and streaming athletics, morning announcements, and PTA meetings. If you want a webcam with a wide field of view plus digital zoom capability, check out the Logitech C270HD. It helps teachers easily capture whiteboard details and show physical objects during video lessons.
4. Turn your newsletter into a vlog.
Video content isn’t just for students, families love it too. Try turning your class newsletter into a video blog. Some teachers might be anxious about being on camera and sharing videos regularly with families, but it’s a powerful tool for communication. Once you get the hang of creating video in place of writing newsletter content, you’ll also save yourself time and stress. Instead of typing, editing, and uploading scanned documents and photos, you just need to spend a few minutes in front of the camera.
5. Involve students in classroom content.
Give your students a new kind of ownership in the classroom by letting them create their own videos. Project-based learning provides countless opportunities to involve students in video content creation, such as recording podcasts, interviews, book reports, and music videos. You can even have students report the week’s lessons and classroom news on video. This is a great way to let students showcase and reinforce what they learn, and families love hearing directly from their kids about what they’re doing in class. It’s also exciting and inspiring to see how students embrace this task, as well as to see what they determine to be highlights each week.
6. Embrace the one-take philosophy.
Video content can be really successful when a message is clear and the delivery is smooth. However, you can spend a lot of time trying to create mistake-free video. This is not always realistic or worth the time you’ll invest. When you’re short on time, embrace the one-take philosophy. This can be hard at first, but letting the camera roll without making additional tweaks allows for some great learning moments.
When you’re ready to edit video, make sure you use tools that make it faster and easier. A 2019 lab study by Logitech shows that teachers complete tasks 30% faster when using an external mouse instead of a trackpad. For an ergonomic option, check out this wireless mouse and keyboard combo.
7. Discover the wonder of time-lapse and slo-mo.
The time-lapse and slo-mo features that likely already exist on your devices are incredible learning tools. For example, if your class raises monarch butterflies, your students will be mesmerized by watching the action take place in slo-mo and through a time-lapse. Almost everything is cooler through these lenses. Augmented-time videos inspire meaningful connections, thoughtful reflection, and deeper questions about the world all around us. To share these moments on video, set up a camera, record some video, and let the learning take your students to new places. Even the smallest thing can turn into an incredible video lesson.
8. Capture goal setting and progress with students.
Conferences are a time to connect with families and share outcomes. Why wait for months to involve families when you can record the goal-setting and reflection process as part of your formative and summative assessment format? Empower students to record self-assessments or reflections on a recent math test or outline their goals for an upcoming essay assignment. Sharing this critical step in education with families can strengthen the partnerships you have with families and encourage student-centered learning.
9. Use content creation apps to your advantage.
There are multiple apps and cloud-based sites that host recording tools and editing applications for making flipped classroom videos. Vimeo, Flipgrid, and WeVideo are just a few examples of tools you can use to create, record, and edit your content. Try a variety of tools until you find what works for you—and ask around to other teachers who are using a lot of video. They’ll likely have good resources to share.
10. Bring in virtual guests and experts.
Most students and teachers love welcoming special guests into the classroom. Social-distancing guidelines don’t have to eliminate this experience. In fact, it’s a lot easier to find and schedule virtual guests or capture people on the video to play back later than to arrange a live, in-person visit. With video, you can introduce your students to a scientist from another country or bring in both an author and illustrator from two different states at the same time. The MeetUp video-conferencing camera is easy to set up for these virtual field trips. It can pan, tilt, and zoom and has a built-in microphone and speaker system to make sure the entire class is included in the experience.
11. Use audio and video as assessment tools.
Making flipped classroom videos for assessments can provide critical opportunities for students to document their knowledge and understanding. You can use video assessments to help divide up larger tests for students in remote learning. You can also have students explain their thinking using video content that you can later share with families during conferences. This type of video content also works well with the SPaR technique, where students and teachers can stop, pause, and rewind video content.
12. Share with other educators.
There’s a synergy that occurs when we work with other teachers, especially with video and flipped content. With collaboration, you are no longer an army of one. In fact, when you plan ahead, you can actually share work and videos to save everyone time overall. Within your building, through social media groups, or even through former schoolmates, find a strong educator community who will work with you to embrace new ideas and collaborate on flipped classroom content.