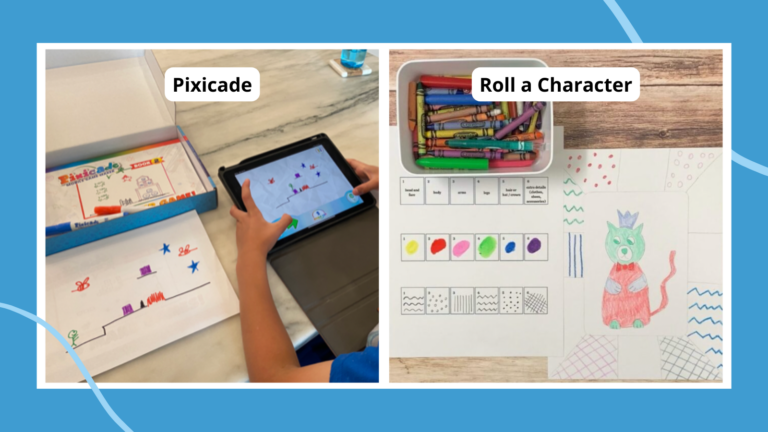
Want an activity that will create a firestorm of creativity in your classroom? Elementary school is the perfect time to nurture the inner artist that lives in every child. What better way than to encourage them to learn to draw fun subjects like mythical creatures? Our free printable has step-by-step instructions for teaching kids how to draw a dragon. Make it a fun Friday group activity or keep it on hand for your fast finishers.
There’s a video tutorial and images with step-by-step instructions. Plus, be sure to download the free printable instructions so kids can easily follow along.
How To Draw a Dragon Video
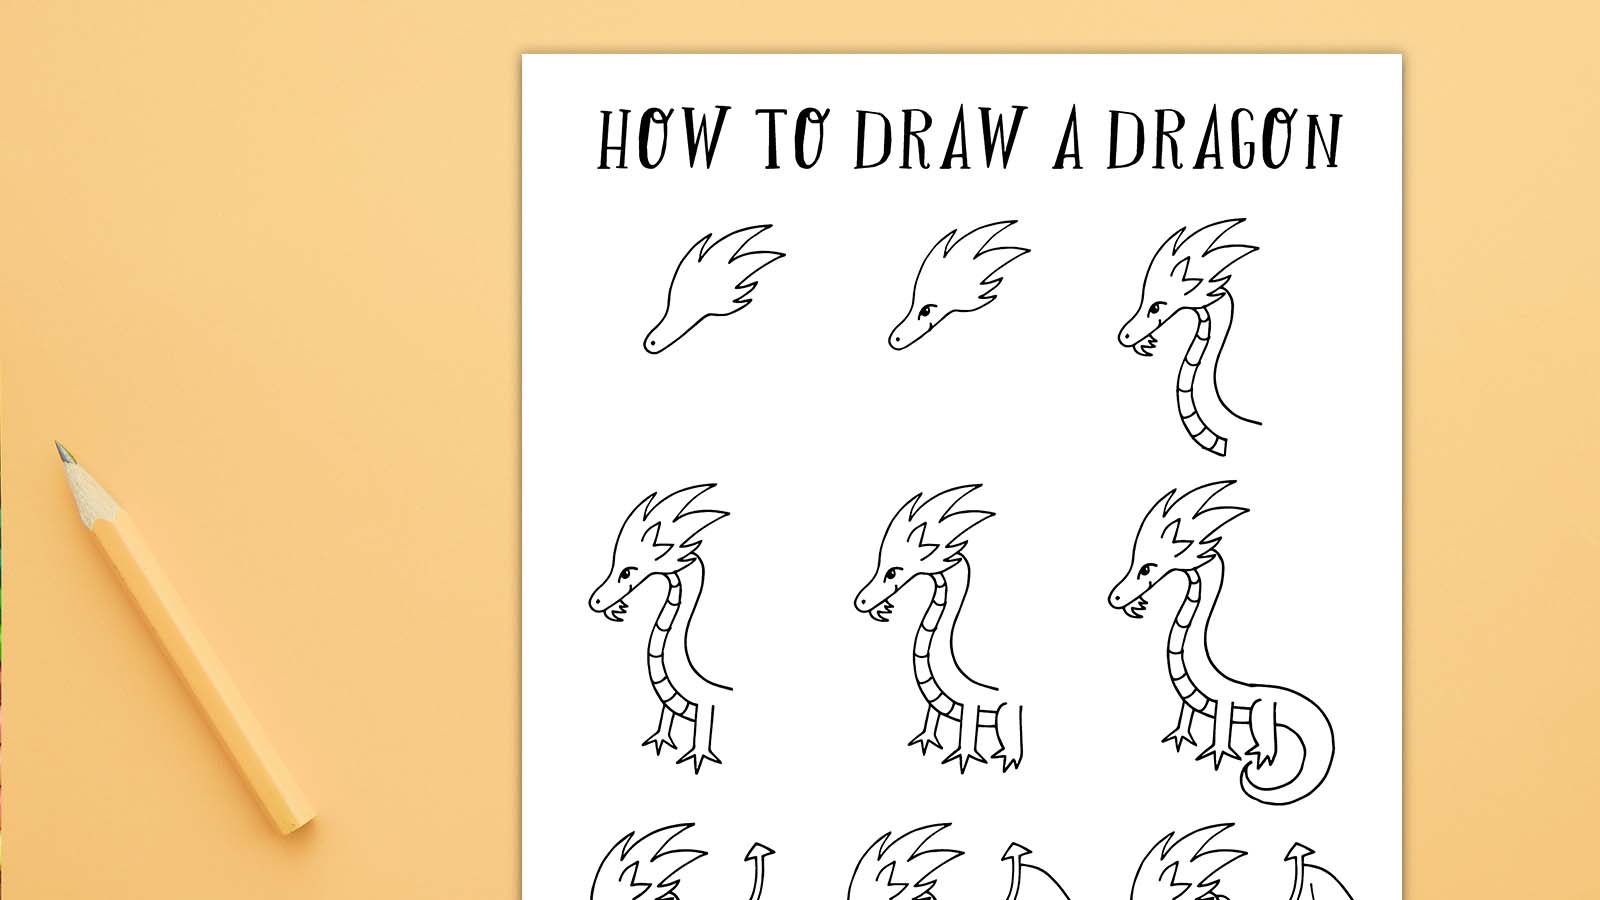
There are eight easy-to-follow steps below for teaching kids how to draw a dragon. They should simplify the process for kids of all ages and abilities.
How To Draw a Dragon Step-by-Step
Step 1

Once you have your paper and Sharpie ready, begin by drawing the outline of a dragon’s head toward the top of the paper. The bottom of the head will resemble a narrow oval. It will then branch out into a wider set of five points of varying sizes. Finally, add a dot in the small oval toward the bottom to be the dragon’s nostril.
Step 2

Once you have the general outline of the head completed, it is time to add some of the facial details. Draw a slight curve for the mouth toward the top of the oval portion of the face before it widens into points. Draw an upside down U shape just above the mouth and then add a small circle inside of that. Finally, shade all but a small portion of that circle in order to give the illusion of a pupil.
Step 3

Now we are going to add a few more details to the head and begin the body. Draw a couple of points inside the outline of the head that mirror the two middle points at the top of the head. Next, add three small points underneath the mouth. Start the body by adding two wavy lines that are about three-quarters as long as the length of the head. The first two lines should begin right where the small oval of the bottom of the head turns into the bottom spike. They should be thinly spaced out and get slightly more spaced out toward the bottom. Add about seven upside-down curved horizontal lines that connect the two vertical lines. Finally, add a third wavy line that mirrors the first two. This one should start under the second spike on the head from the bottom.
Step 4

Now we’re ready to give our dragon friend his front legs. The far-side leg is going to be on the right and begin toward the bottom of the first two wavy lines. Draw two short vertical lines that have three points coming off them to form the claws. This leg should look shorter than the one closest to us for foreshortening. The leg closest to us is going to begin and come straight off of the two right-most wavy lines that make up the body. Like the foreshortened leg, it will have three points coming off of it to make the claws. Again, the closer leg should be a bit wider than the back leg and should come lower on the page so you have some perspective.
Step 5

Once we’ve gotten the front legs drawn, we’re going to add a back leg. Continue the body ever so slightly past the closer front leg and then draw a slightly curved vertical line with three points coming off it to form the claw. Complete the leg with a straighter vertical line.
Step 6

We’re going to add a tail to our dragon by creating a backward C shape from the back leg down and under our dragon’s feet. Starting from the ending point of the C shape, we’re going to draw a bigger backward C that mirrors the first one and connect it to the dragon’s back to complete the tail.
Step 7

Now for the really fun part: the wings! Starting from the second curved horizontal line on the body, draw a curved line from the dragon’s back pointing upward to about the top of the head. Draw a second, narrowly spaced-out line that mirrors the first, and then connect them with an upward arrow.
Step 8

The final step is to complete the wing. Draw a large wing that comes off the two curved lines you just drew and fills the space between that and the top of the dragon’s back. You should create four points in the process. Finally, add some color to your dragon if you want!
Get your free How To Draw a Dragon printable with step-by-step instructions!

Are you ready to save and print your free dragon-drawing printable? All you need to do is click the button below to fill out the form at the top of this page.