My students have always struggled with abstract concepts so it became my goal to make as much of my content “hands-on” as possible. Allowing students to see the scientific concepts rather than just having to visualize them in their mind has increased my students’ engagement and understanding of scientific concepts.
I wish that I could take full credit for the following, but after a decade in the classroom I have begged, borrowed and stolen ideas from teachers, textbooks, and the vastness of the internet and tweaked them to fit my classroom’s needs. Here are a few of my favorite lesson ideas.
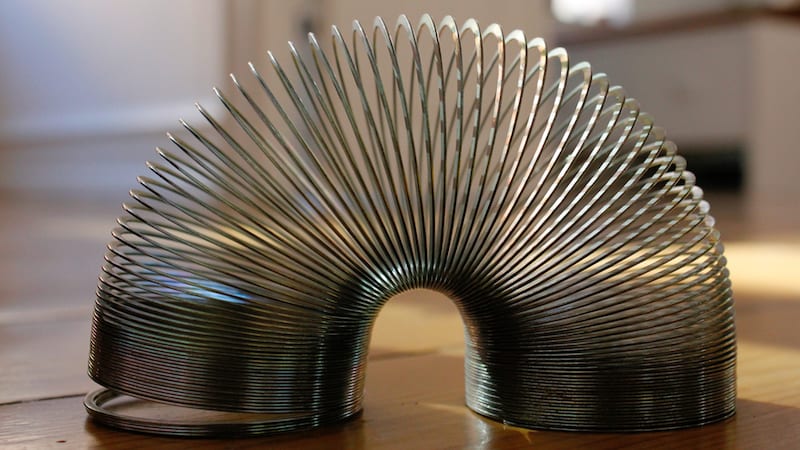
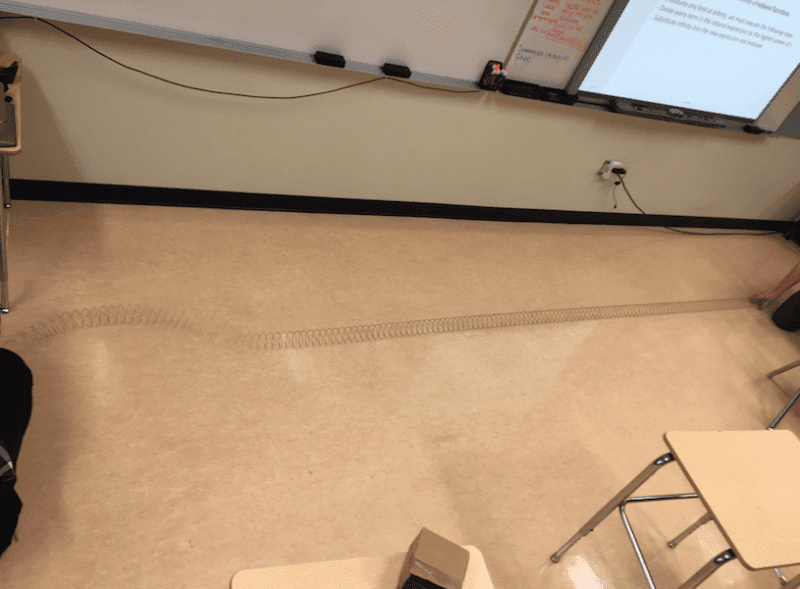
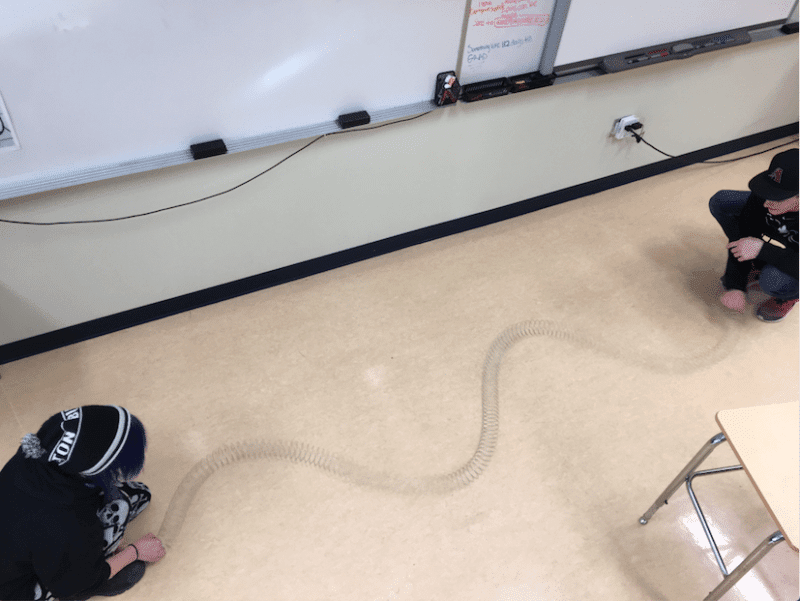
1. I use Slinkys to demonstrate transverse and longitudinal waves.
Stretch out a good (untangled) Slinky on the floor to a length of 8-10 feet (long enough to be taut but not over-stretched). It helps to have a student assist with this demo!
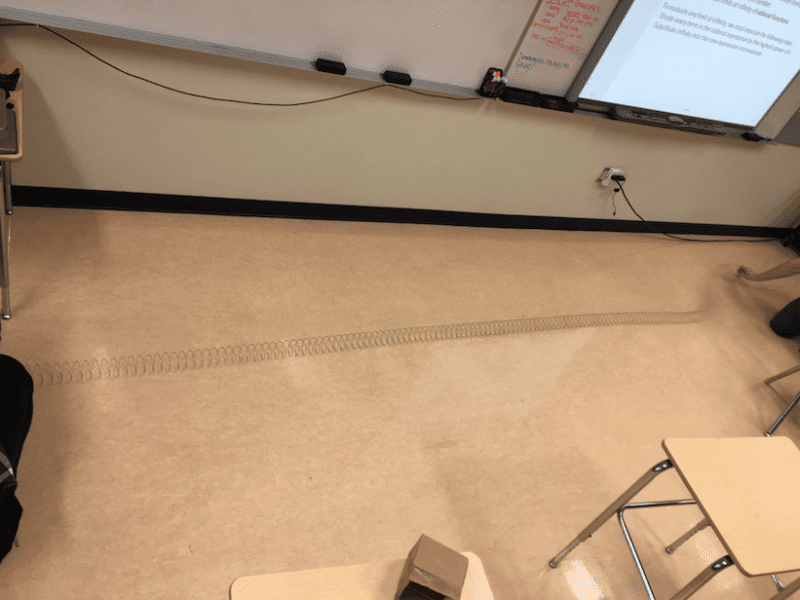
Longitudinal (Compression) waves can be easily demonstrated by pushing the slinky toward the other end and returning it quickly to its rest position. Students can easily see the compressions and rarefactions in the wave as it travels from end to end. A discussion about ideal wave behavior (no loss of energy) and observed behavior can be had. In this demo, energy is lost due to friction against the floor.


Transverse waves can be demonstrated by “waving” the slinky from side to side along the floor. Students can see the crests and troughs develop as the slinky is waved from side to side. Reflection of energy can be shown by only giving a single “wave” (or “pulse”) of the slinky across the floor.
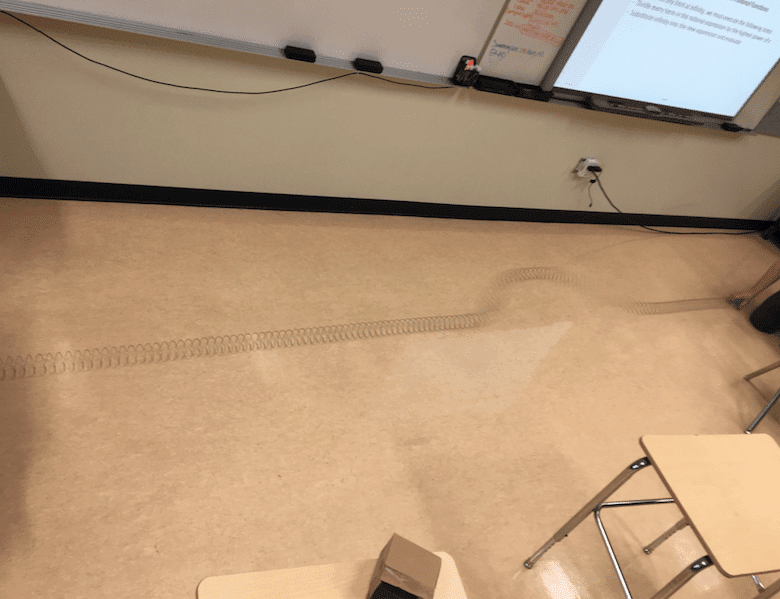
Standing waves are a little trickier but with a little patience and a steady hand, you can wave the slinky at the right frequency to create a standing wave pattern.
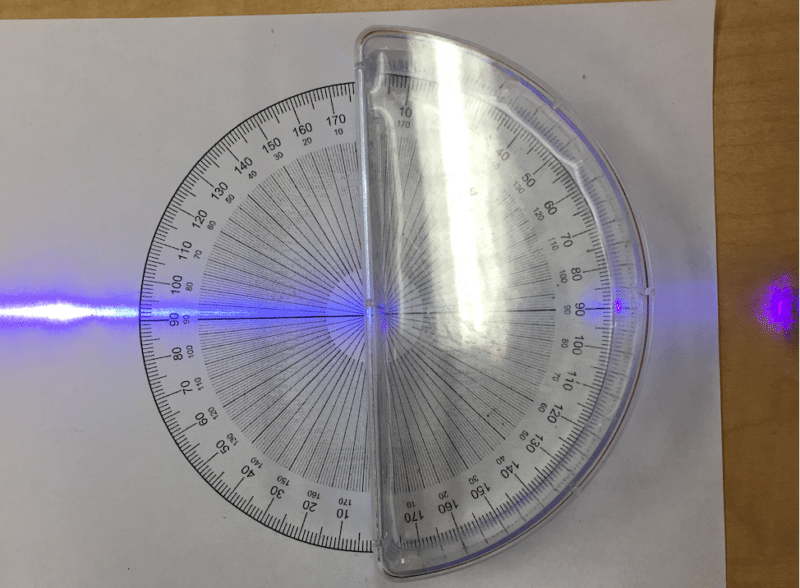
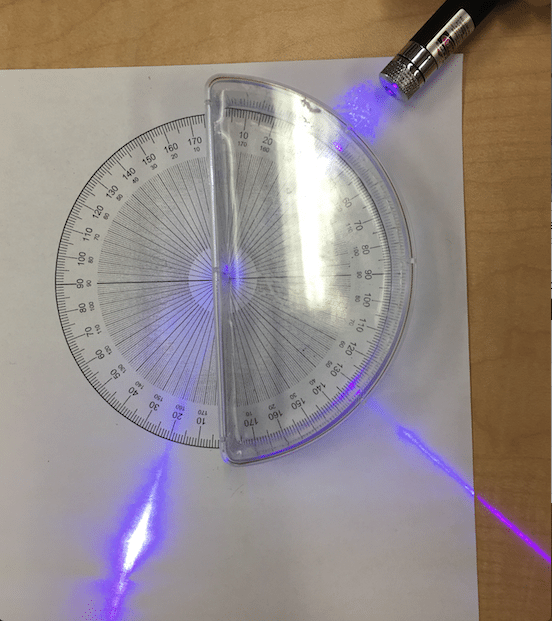
2. I use water dishes and laser pointers to demonstrate refraction.
Take a semicircular dish (found in most physics labs) and fill it with water. Point the laser pointer at the flat side of the dish and put a piece of paper away from the curved side. Shining the laser perpendicular to the dish will result in the light going straight through the dish, but by changing the angle the light is shone at, there will be varying degrees of refraction (bending) of the light, as well as some reflection!
Students can see firsthand that by changing the medium that the light is passing through, the angle of the light changes. This is a good introduction to the refraction equation and how the speed of light is different in different materials.
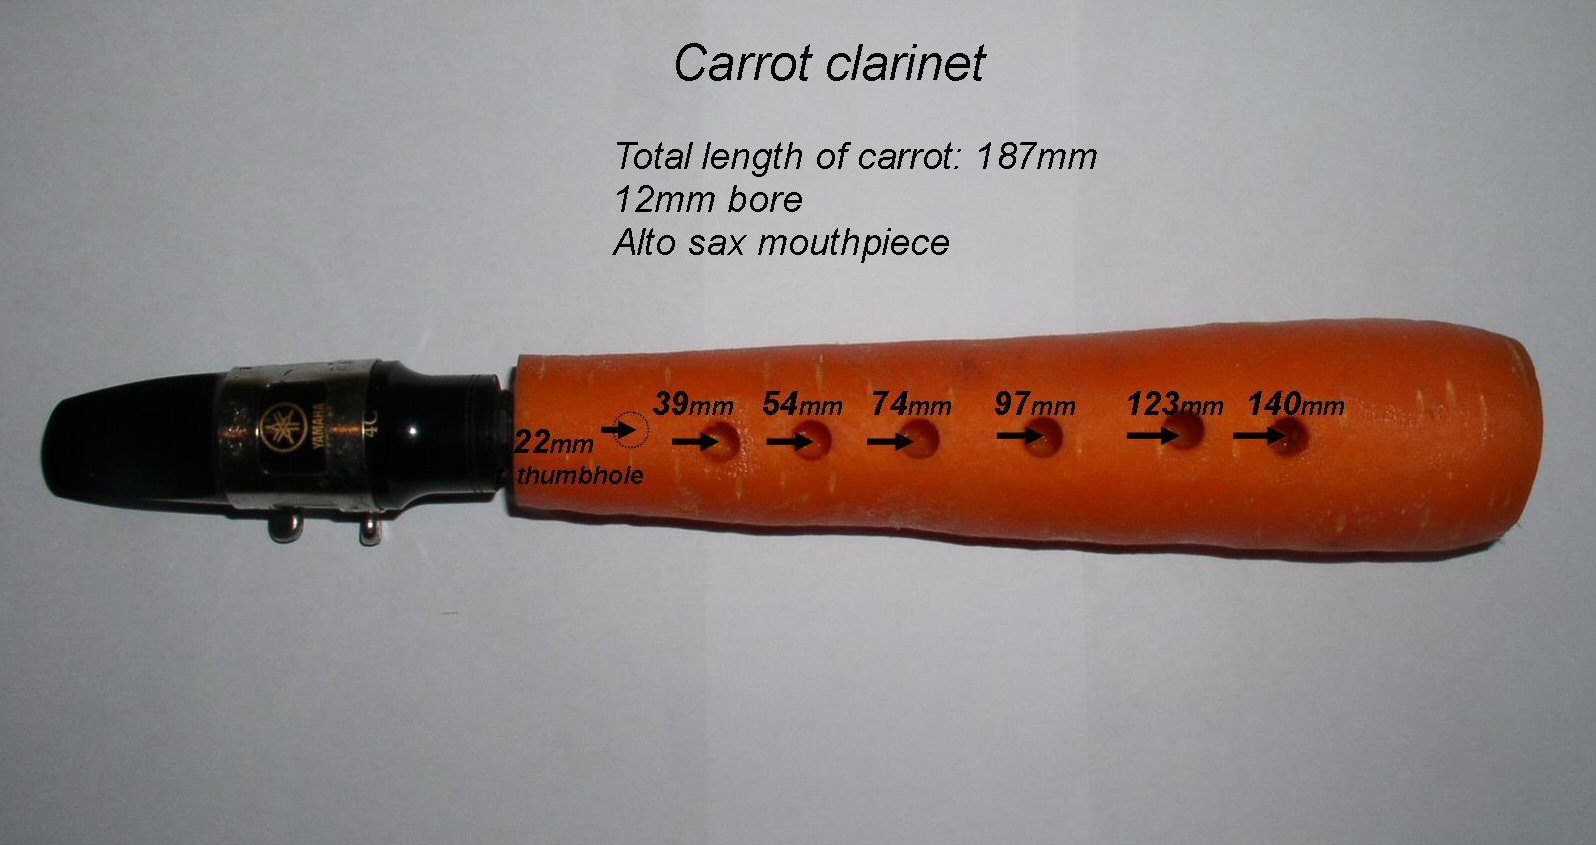
3. My students make clarinets from carrots.
Ok, this one is a little more abstract but can be the most fun. Take a large (at least 1.25” diameter) carrot and bore a ½” hold straight through the end. Cut the carrot to 7 3/8” (187mm) and then drill holes as illustrated. Get an alto saxophone mouthpiece from your music department, put it in one end and you instantly have a functioning clarinet!
Ask any of the clarinet/saxophone players in your class to try to play it… it takes some getting used to, but even a non-musician Physics teacher can make sound! A discussion about the fundamental frequency of the mouthpiece (most alto sax mouthpieces have an 880Hz fundamental) and the relationship between wavelength, frequency and harmonics can be had.
To have students take this to another level, you could have a student who plays a different reed instrument (clarinet, oboe, tenor/baritone/soprano saxophone) design a carrot (or other vegetable-based) instrument with their mouthpiece. Students would have to determine the fundamental frequency of their mouthpiece and determine suitable distances for the finger holes to create the right lengths for the right notes.
Thanks to Linsey Pollak for working out the details on the construction of this new musical instrument.