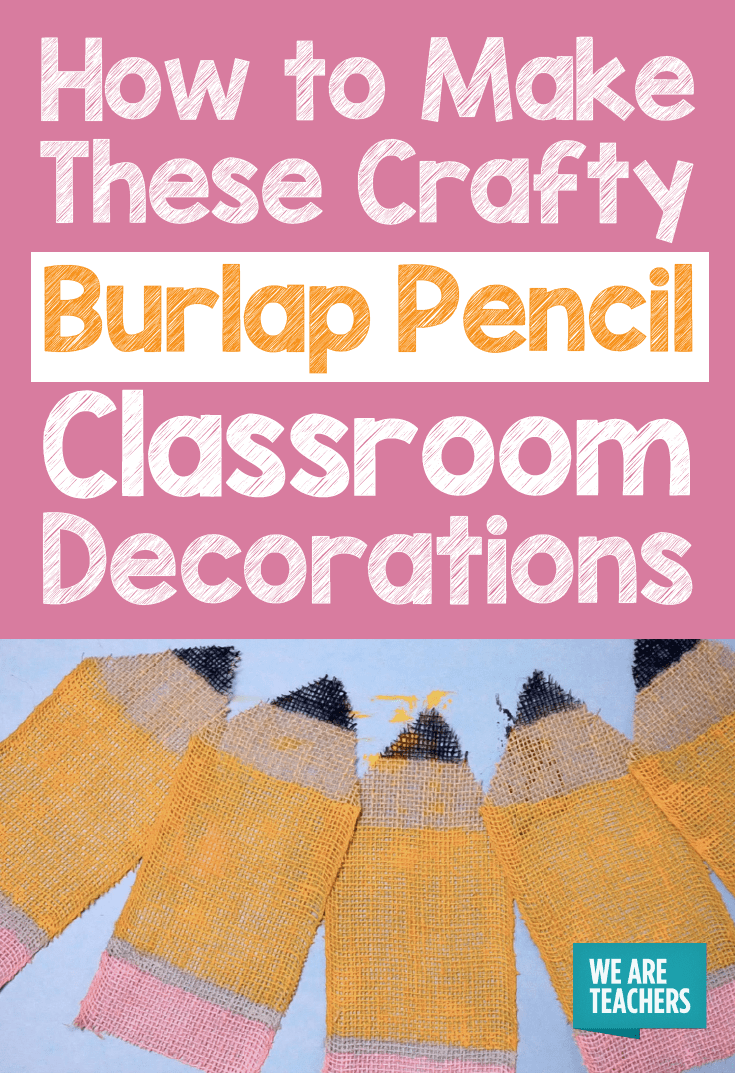
You can never have too many classroom pencils when you’re a teacher. Seriously, have you made our pencil shoes yet? We love these easy-to-create pencil classroom decorations using burlap and paint. You can create a couple dozen of these in just an hour. Here are the easy step-by-step instructions to make your own!
What you need
- Burlap roll
- Ruler
- Scissors
- Acrylic paint and paintbrushes

What to do
Step 1
Cut burlap rolls into 12-inch strips. You can use pretty much any burlap to make these, but we love these burlap rolls on Amazon. It makes it really easy!

Step 2
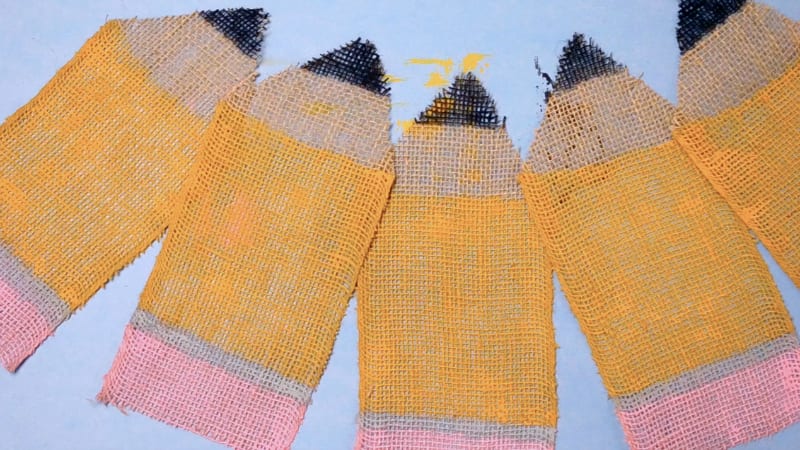
Fold a burlap strip in half and make a cut diagonally at the end to create a triangle shape (aka pointed end of the pencil).

Step 3
Using acrylic paint, brush on the paint for your pencil. We found the best order to be: pencil body (yellow), eraser (pink), metal ring of the pencil (grey), and pencil lead (black). Acrylic paint dries quickly, but wait a few minutes between each section for best results. You can use just about any acrylic paint, but we like this collection on Amazon because it has all the colors you need for this project.

Step 4
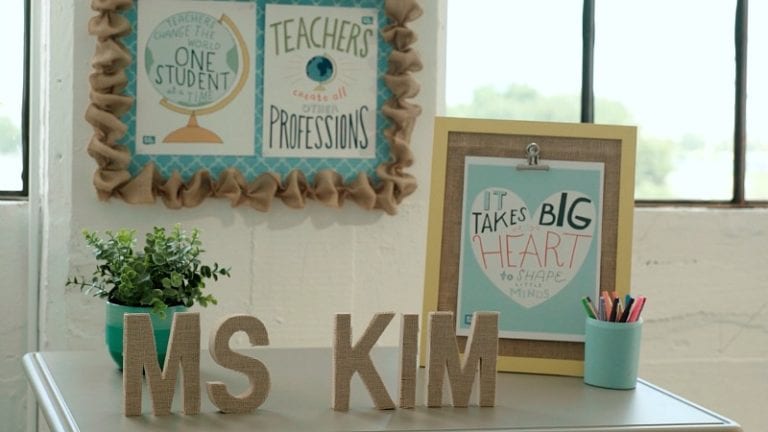
Let your paint completely dry. Then put your pencils to use! You can use them in just about any way. Our ideas include using them as name templates, featuring students’ photos, or even using them as hall passes or for other specials. You can also just hang them up in your room for decorations.

Have you created a craft project lately in your classroom? We want to hear about it, and see all the photos! Check out the Write for Us page where you can submit your ideas. We’d love to work with you (and pay you) to create something for us! Here’s out video to show this project in full action.
https://www.youtube.com/embed/cK1LZWrUnBM