
There’s something so fascinating about hands-on science experiments and projects. They make learning so meaningful and so much fun! These 5th grade science projects help kids explore biology, physics, chemistry, and a whole lot more. Try one at the 5th grade science fair, or use a few to liven up your lesson plans.
To make things even easier, we’ve rated every one of these 5th grade science projects based on difficulty and materials:
Difficulty:
- Easy: These are low- or no-prep experiments you can do pretty much anytime.
- Medium: These take a little more setup or a longer time to complete.
- Advanced: Experiments like these take a fairly big commitment of time or effort.
Materials:
- Basic: These require simple items you probably already have around the house.
- Medium: For these, you’ll need items that you might not already have but are easy to get your hands on.
- Advanced: These require specialized or more expensive supplies to complete.
Jump to:
- Structure and Properties of Matter
- Matter and Energy in Organisms and Ecosystems
- Earth’s Systems
- Space Systems: Stars and the Solar System
- Engineering Design
- Fun Science Fair Projects
Structure and Properties of Matter
These 5th grade science projects help students explore what matter is made of and how it behaves. From density and states of matter to chemical reactions and polymers, these hands-on experiments make big science concepts easier to see and understand.
1. Model the states of matter
- Difficulty: Medium
- Materials: Medium
- Materials Needed: Ping-Pong balls, clear cups or containers, string, tape
Use Ping-Pong balls to create simple models of solids, liquids, and gases. Arrange the balls tightly together to represent a solid, loosely inside a container to represent a liquid, and farther apart to represent a gas. Invite students to compare how the particles are arranged and discuss how they move in each state of matter.
2. Drink root beer floats
- Difficulty: Easy
- Materials: Medium
- Materials Needed: Root beer, ice cream, cups, spoons
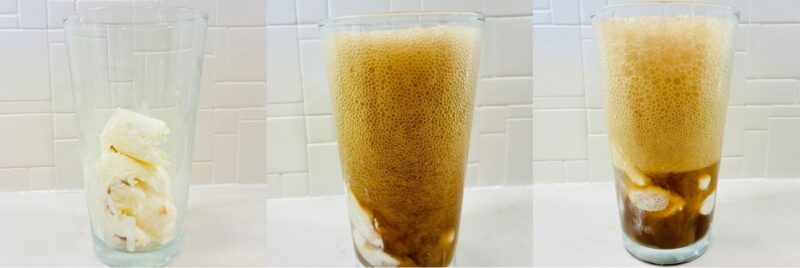
Mix root beer and ice cream to explore solids, liquids, and gases interacting in one fun treat. Students can observe the foam, melting ice cream, and fizzy bubbles to identify examples of each state of matter in action. Ask them to describe how the ingredients change as the float sits.
3. Fill a bubble with dry ice vapor
- Difficulty: Medium
- Materials: Medium
- Materials Needed: Dry ice, dish soap, water, bowl or container, cloth or glove, adult supervision
Place dry ice in a container with warm water, then stretch a soapy film across the opening to trap the carbon dioxide vapor inside a giant bubble. Students can watch the bubble expand until it bursts. Use this adult-led demonstration to explore sublimation, gas expansion, and surface tension. Caution: Dry ice should never be handled with bare hands.
4. Discover density with hot and cold water
- Difficulty: Medium
- Materials: Basic
- Materials Needed: Two clear containers, hot water, cold water, food coloring, index card or laminated card, adult supervision
Add food coloring to hot and cold water, then carefully place one container on top of the other with a card between them. Remove the card and observe how the liquids move depending on which container is on top. Students can see how temperature affects density and movement in liquids.
5. Whip up some magic milk
- Difficulty: Easy
- Materials: Basic
- Materials Needed: Milk, food coloring, dish soap, shallow dish, cotton swabs
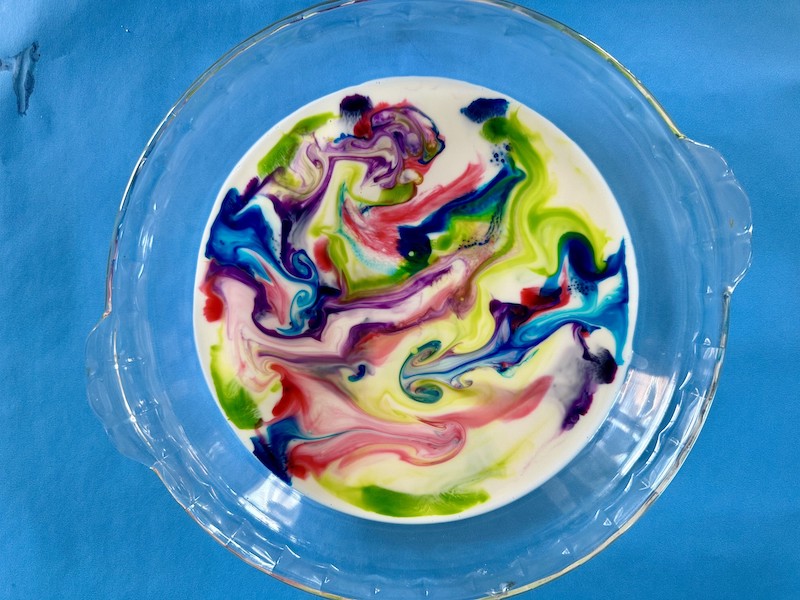
Pour milk into a shallow dish and add drops of food coloring. Dip a cotton swab in dish soap and touch it to the milk. Students can watch the colors swirl as the soap interacts with the fat molecules in the milk, offering a colorful introduction to surface tension and molecular interactions.
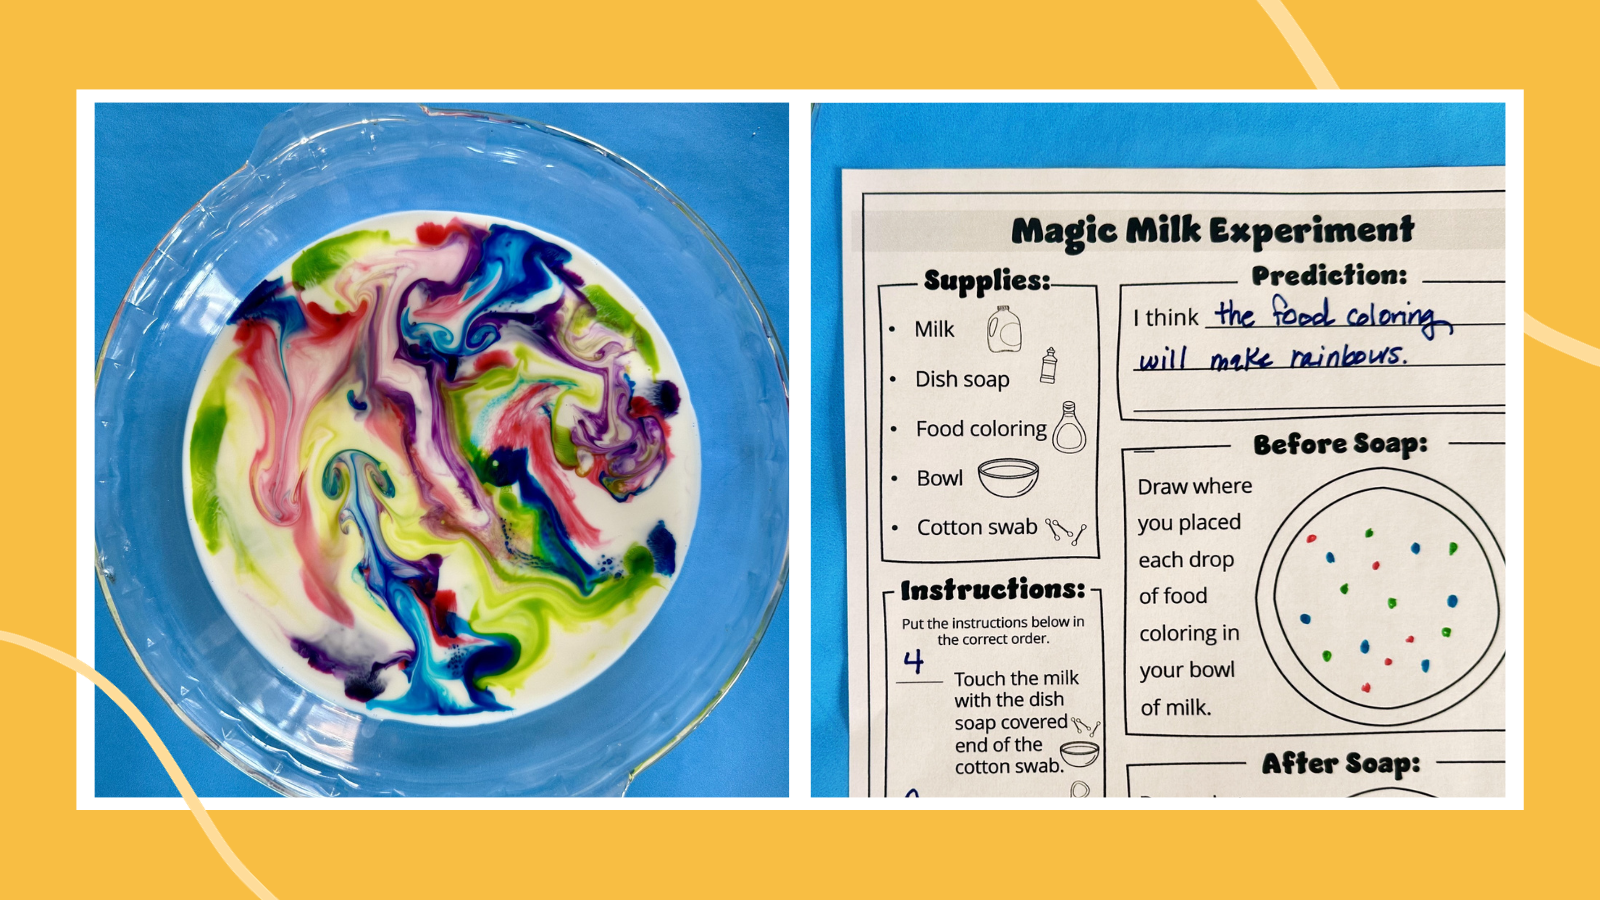
Magic Milk Experiment (Worksheet + Demo Video)
Watch our video to learn how to do the magic milk experiment. Then have students fill out the observation sheet.
6. Light it up indoors with static electricity
- Difficulty: Easy
- Materials: Basic
- Materials Needed: Balloon, plastic comb, small pieces of paper, wool fabric or hair
Rub a balloon or comb against hair or wool fabric, then hold it near small pieces of paper. Students can observe the paper moving toward the charged object without being touched. Use the activity to introduce static electricity, electrical charges, and attraction.
7. Make your own bouncy balls
- Difficulty: Easy
- Materials: Medium
- Materials Needed: Borax, cornstarch, white glue, warm water, cups, spoons, gloves
Combine glue, cornstarch, and a diluted borax solution to create a moldable mixture. Shape the material into balls and test how well they bounce. Students can compare different ingredient ratios to explore polymers, elasticity, and how chemical reactions can create new materials.
8. Sink or swim with soda cans
- Difficulty: Easy
- Materials: Basic
- Materials Needed: Regular soda cans, diet soda cans, large bin or sink filled with water
Place unopened cans of regular and diet soda into a container of water and observe whether they sink or float. Ask students to predict what will happen before testing. Discuss how the amount of dissolved sugar affects density even though the cans are the same size.
9. Find out whether water conducts electricity
- Difficulty: Medium
- Materials: Medium
- Materials Needed: Low-voltage battery, wires with clips, small LED bulb, cups, distilled water, tap water, salt water, adult supervision
Create a simple low-voltage circuit and test whether different water samples allow electricity to flow. Students can compare distilled water, tap water, and salt water by observing whether the LED lights up. Use battery power only, never a wall outlet.
10. Blow up a balloon without blowing
- Difficulty: Easy
- Materials: Medium
- Materials Needed: Plastic bottle, balloon, baking soda, vinegar, funnel
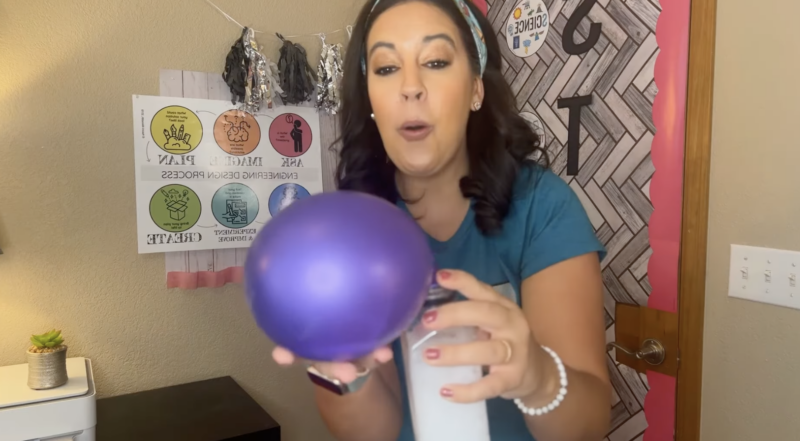
Pour vinegar into a bottle and use a funnel to add baking soda to a balloon. Stretch the balloon over the bottle opening, then lift it so the baking soda falls into the vinegar. Students can watch the balloon inflate as the reaction produces carbon dioxide gas.
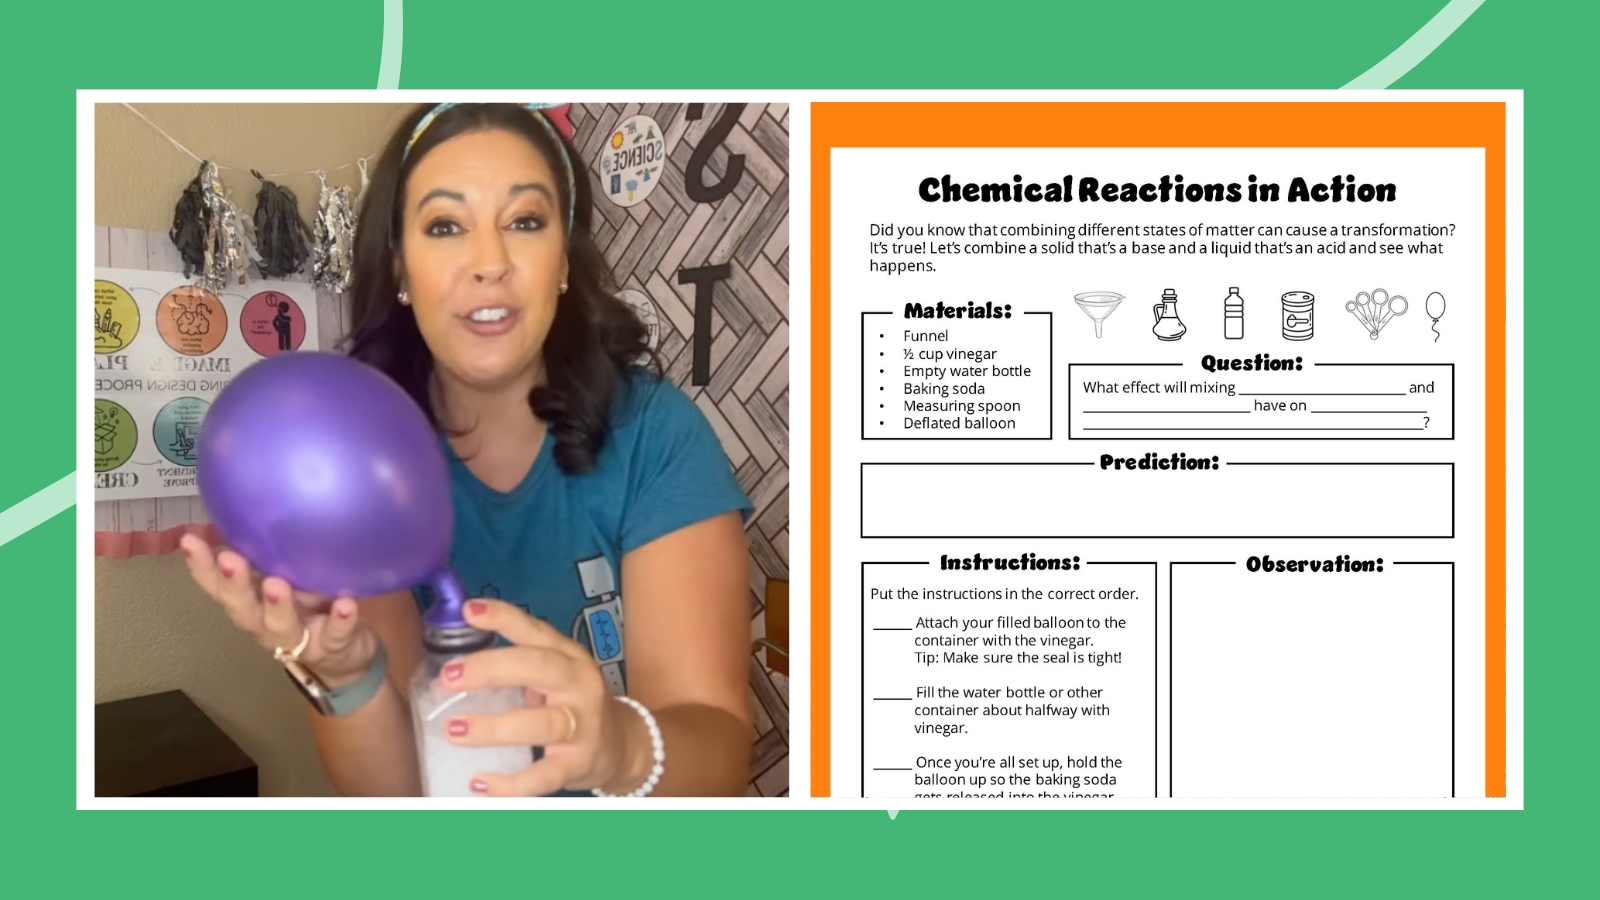
Baking Soda and Vinegar Balloon Experiment (Worksheet + Demo Video)
Watch our video to learn how to do the baking soda and vinegar balloon experiment. Then have students fill out the chemical reactions observation sheet.
11. Play with salt and water beads
- Difficulty: Easy
- Materials: Medium
- Materials Needed: Water beads, salt, water, cups, spoons, ruler, adult supervision
Place hydrated water beads in cups and add different amounts of salt. Students can observe how the beads shrink as water moves out of them. Measure the beads before and after the experiment to explore osmosis and the effects of solute concentration.
12. Erupt a baking soda volcano
- Difficulty: Easy
- Materials: Medium
- Materials Needed: Baking soda, vinegar, model volcano or container, dish soap, food coloring, tray
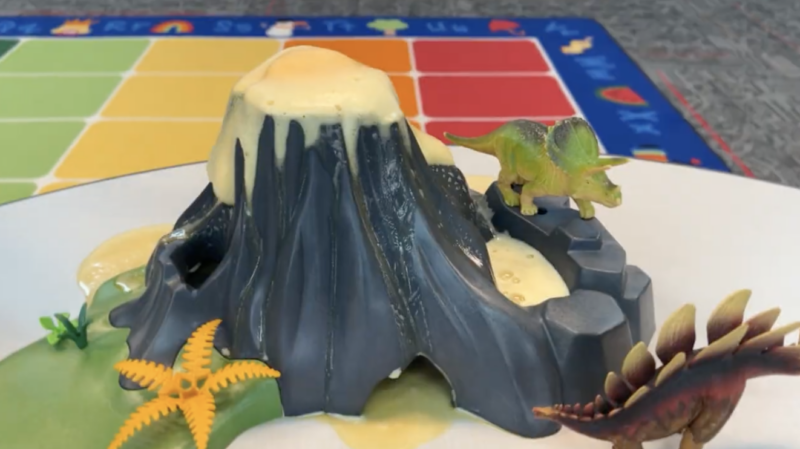
Add baking soda to a model volcano or container, then pour in vinegar mixed with dish soap and food coloring. Students can observe the foamy eruption caused by a reaction that releases carbon dioxide gas. Test different ingredient amounts to see how they affect the size of the eruption.
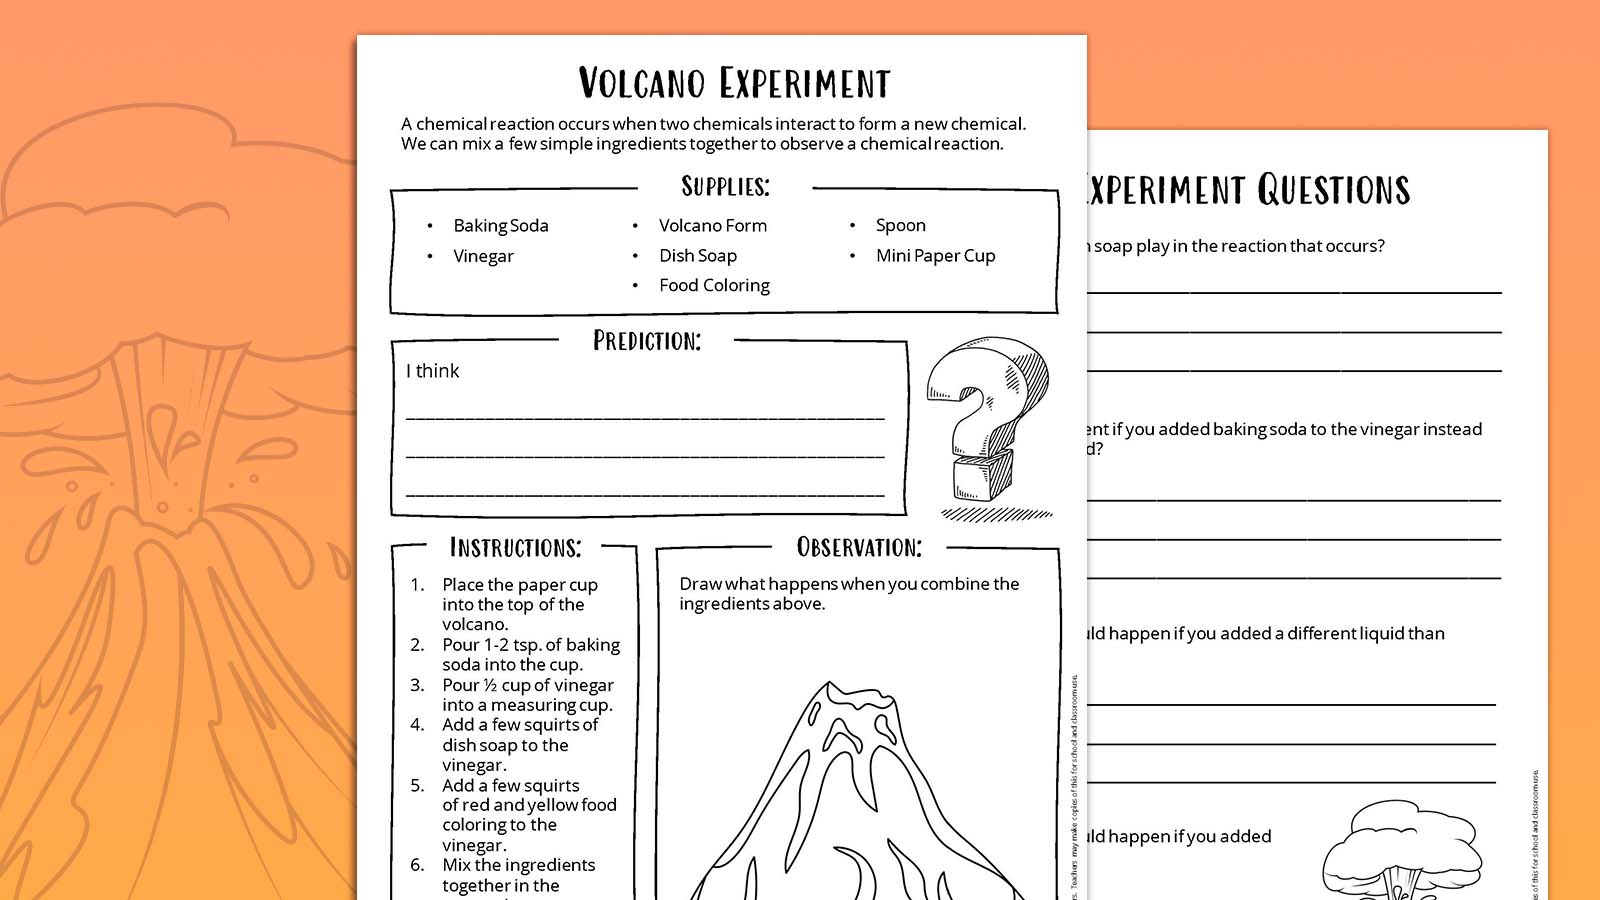
Baking Soda Volcano (Experiment + Demo Video)
Watch the video to learn how to make a baking soda volcano with your students. Then have them fill out the observation sheet.
13. Discover the strength of eggshells
- Difficulty: Easy
- Materials: Basic
- Materials Needed: Eggshell halves, books or small weights, tray
Place eggshell halves with the curved sides facing upward, then carefully add weight on top. Students can record how much weight the shells hold before breaking. Discuss how the shell’s dome shape distributes force and why similar designs are used in architecture.
14. Demonstrate the “magic” leakproof bag
- Difficulty: Easy
- Materials: Basic
- Materials Needed: Zip-top bag, sharpened pencils, water, tray or sink
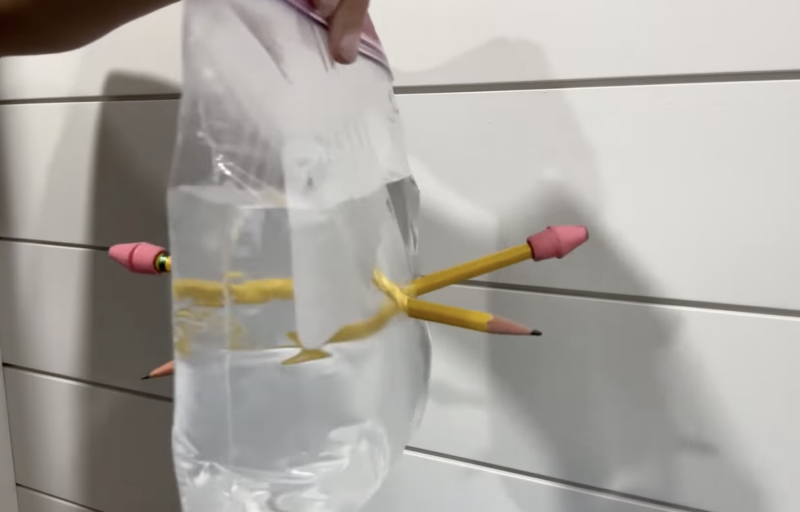
Fill a zip-top bag with water, seal it, and carefully push sharpened pencils through both sides of the bag. Students can observe that very little water leaks out. Explain how the flexible plastic stretches around each pencil and forms a seal.
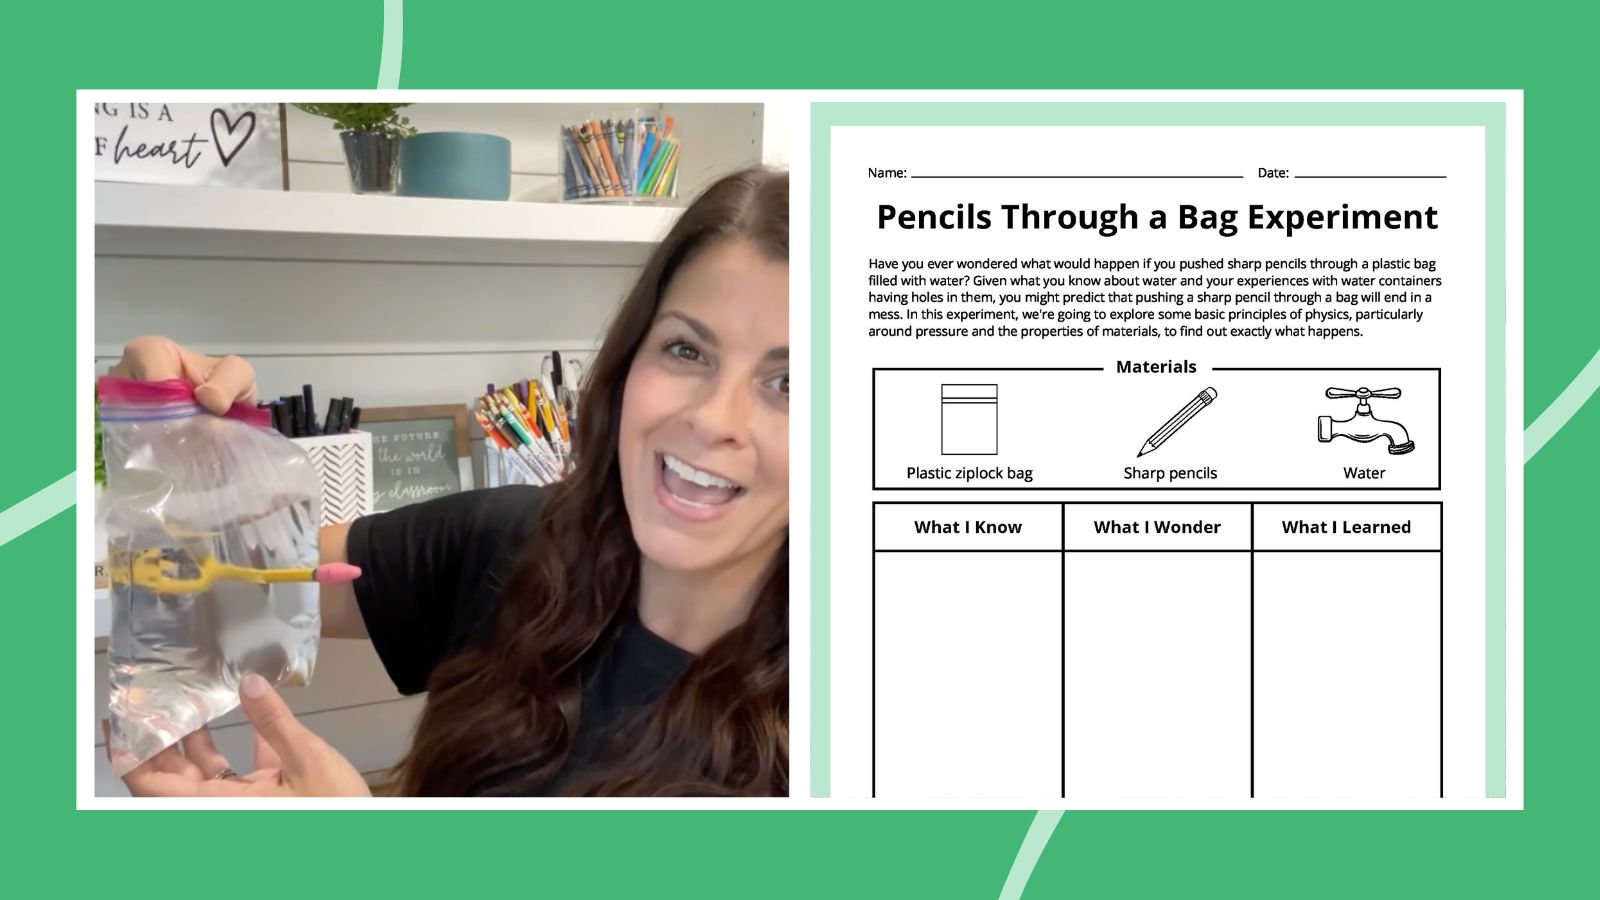
Pencil Through a Bag (Experiment + Demo Video)
Watch the video to learn the pencil through a bag experiment with your students. Then have them fill out the predictions and observation sheets.
15. Explore the science of glow sticks
- Difficulty: Easy
- Materials: Basic
- Materials Needed: Glow sticks, cups, warm water, cold water, ice
Activate several glow sticks and place them in cups of water at different temperatures. Students can compare how brightly each stick glows and how long the effect lasts. Use the activity to explore how temperature affects the rate of a chemical reaction. Keep glow sticks sealed throughout the experiment.
16. Grow crystal snowflakes
- Difficulty: Medium
- Materials: Medium
- Materials Needed: Borax, hot water, pipe cleaners, jars, string, pencils or craft sticks, adult supervision
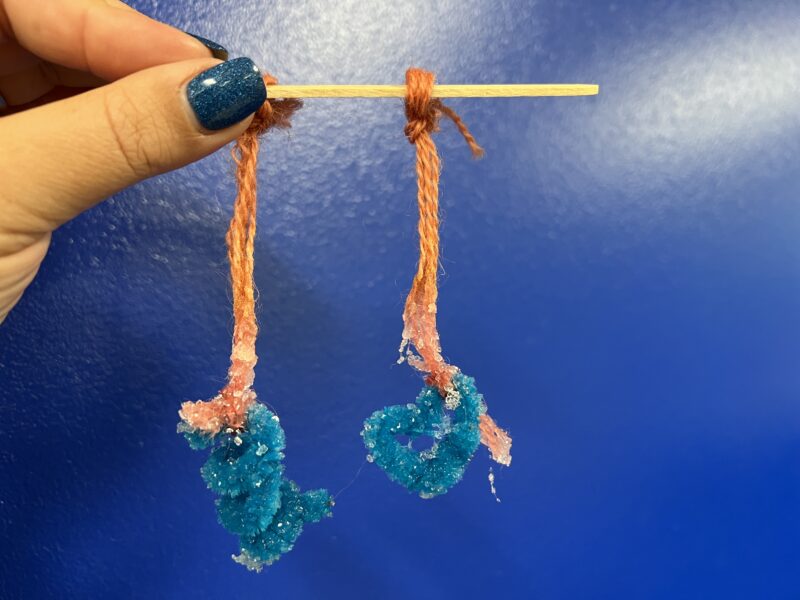
Shape pipe cleaners into snowflakes and suspend them inside jars filled with hot borax solution. Leave the jars undisturbed overnight. Students can observe crystals forming as the dissolved borax comes out of the cooling solution and attaches to the pipe cleaners.
17. Escape from quicksand
- Difficulty: Easy
- Materials: Basic
- Materials Needed: Cornstarch, water, bowl or tray, spoons
Mix cornstarch and water to create Oobleck, then press, squeeze, and slowly move your hands through the mixture. Students can observe that it behaves like a solid under pressure but flows like a liquid when handled gently. Use the activity to explore non-Newtonian fluids.
18. Make a foil bug walk on water
- Difficulty: Easy
- Materials: Basic
- Materials Needed: Aluminum foil, bowl of water, scissors, droppers, dish soap if desired
Shape small pieces of aluminum foil into lightweight “bugs” and carefully place them on the water’s surface. Students can test which designs float best. Add a drop of dish soap to observe how changing the surface tension affects the foil bugs.
19. Construct a homemade lava lamp
- Difficulty: Easy
- Materials: Basic
- Materials Needed: Clear bottle or jar, vegetable oil, water, food coloring, antacid tablet
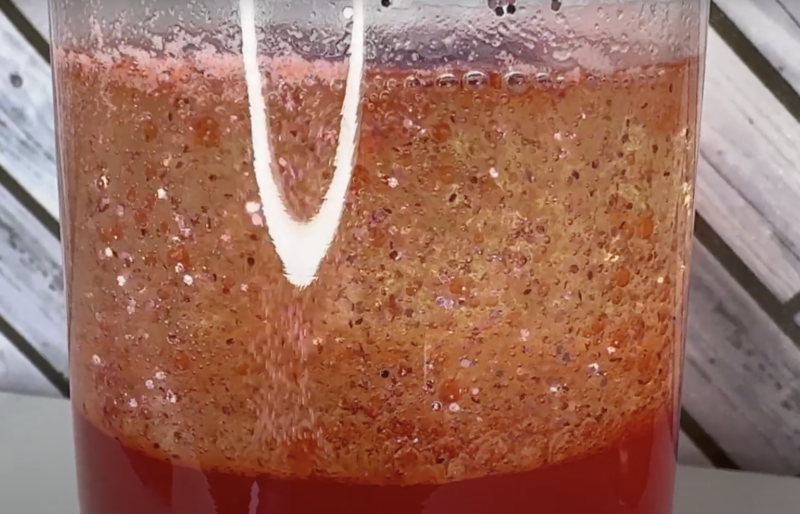
Fill a clear container mostly with oil, then add water and food coloring. Drop in a piece of an antacid tablet and watch colored blobs rise and fall. Students can observe density differences and gas production as the reaction moves the water through the oil.
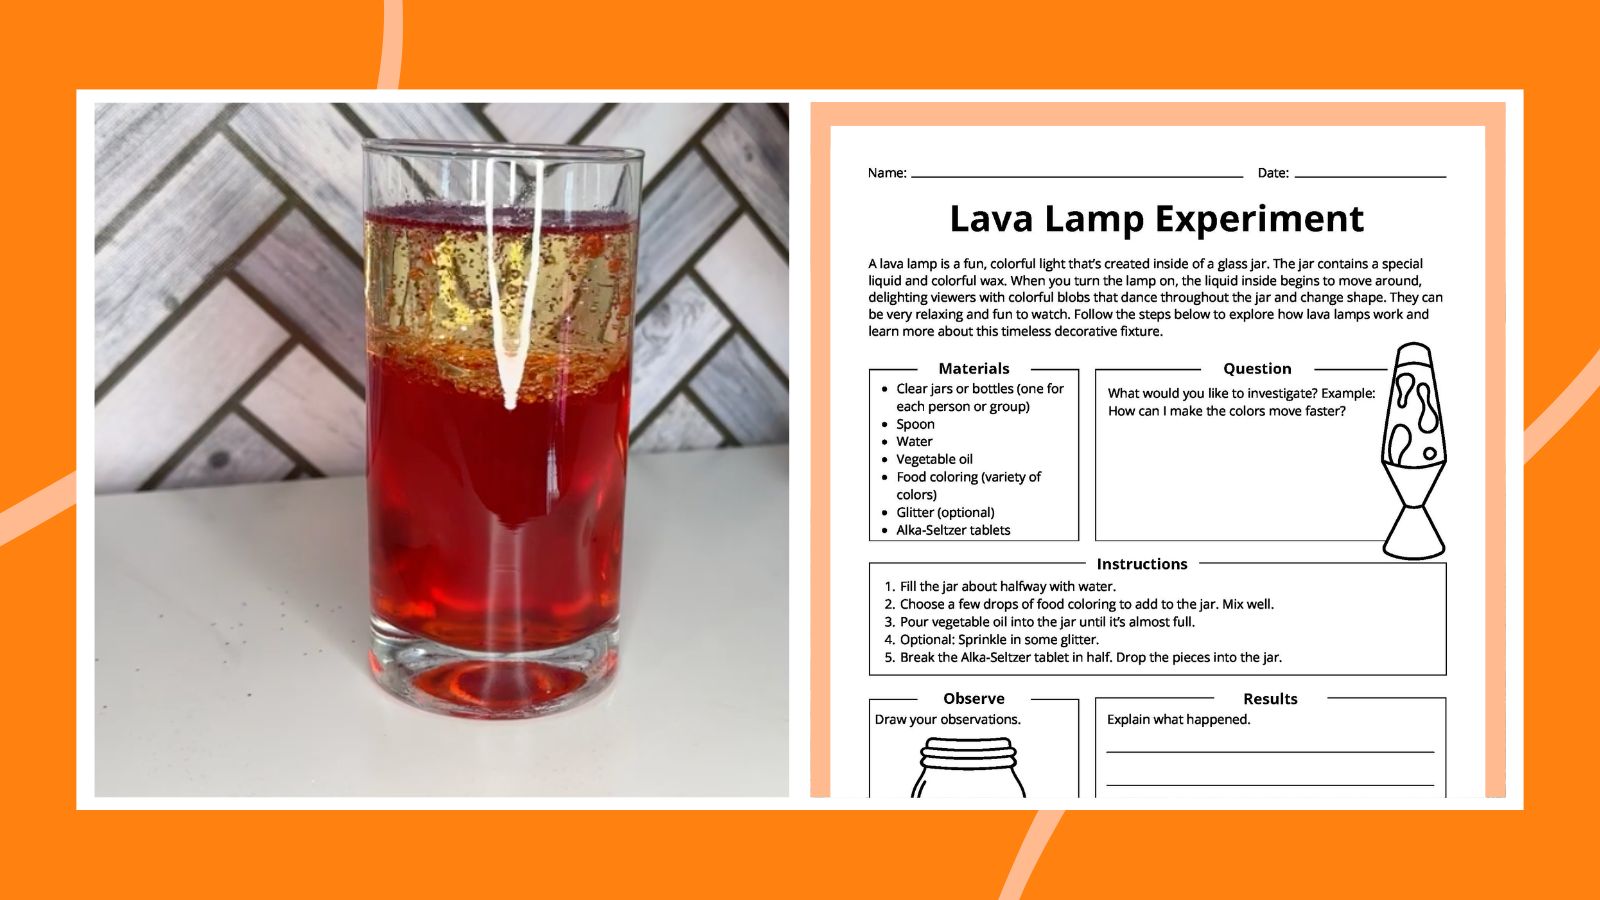
DIY Lava Lamp (Experiment + Demo Video)
Watch the video to learn how to make a DIY lava lamp with your students. Then have them fill out the step-by-step experiment worksheet.
20. Investigate osmosis with gummy bears
- Difficulty: Easy
- Materials: Medium
- Materials Needed: Gummy bears, water, salt water, sugar water, cups, ruler
Soak gummy bears in different solutions and watch them expand or shrink. Students can measure the gummy bears before and after soaking to see how much they change. Compare results using plain water, salt water, and sugar water to explore osmosis and water movement.
Matter and Energy in Organisms and Ecosystems
Use these 5th grade science projects to help students investigate how living things grow, interact, and depend on their environments. Students can explore decomposition, plant growth, ecosystems, genetics, and the movement of matter and energy through living systems.
21. Observe decomposition
- Difficulty: Easy
- Materials: Medium
- Materials Needed: Food scraps, clear containers or sealable bags, labels, observation sheets
Place different foods in sealed containers and observe them over several days or weeks. Students can record changes in color, texture, and appearance to compare which foods decompose most quickly. Use the activity to discuss microorganisms, matter cycling, and the role of decomposers in ecosystems.
22. Explore basic genetics
- Difficulty: Easy
- Materials: Basic
- Materials Needed: Paper, pencils, markers, Punnett square templates, coins if desired
Use hypothetical traits such as flower color or seed shape to model inheritance patterns. Students can complete Punnett squares or flip coins to simulate which traits offspring receive. Discuss dominant and recessive traits, variation, and probability.
23. Design a biosphere
- Difficulty: Medium
- Materials: Medium
- Materials Needed: Clear container with lid, soil, gravel, water, small plants, natural materials
Create a small closed ecosystem using soil, plants, water, and other natural materials. Students can observe changes over time and track condensation, plant growth, and signs of matter cycling. Discuss how organisms depend on both living and nonliving parts of an ecosystem.
24. Find out whether a dog’s mouth is cleaner than a human’s
- Difficulty: Medium
- Materials: Advanced
- Materials Needed: Prepared agar petri dishes, sterile swabs, tape, labels, gloves, adult supervision
Compare microbial growth from teacher-managed samples collected from a dog’s mouth and a human mouth. Seal the petri dishes immediately after inoculation and observe them without reopening them. Students can compare visible growth patterns and discuss why a simple classroom experiment cannot identify specific microbes or determine whether one mouth is truly “cleaner.”
25. Stop soil erosion with plants
- Difficulty: Medium
- Materials: Medium
- Materials Needed: Soil, shallow containers, grass or small plants, water, cups, tray
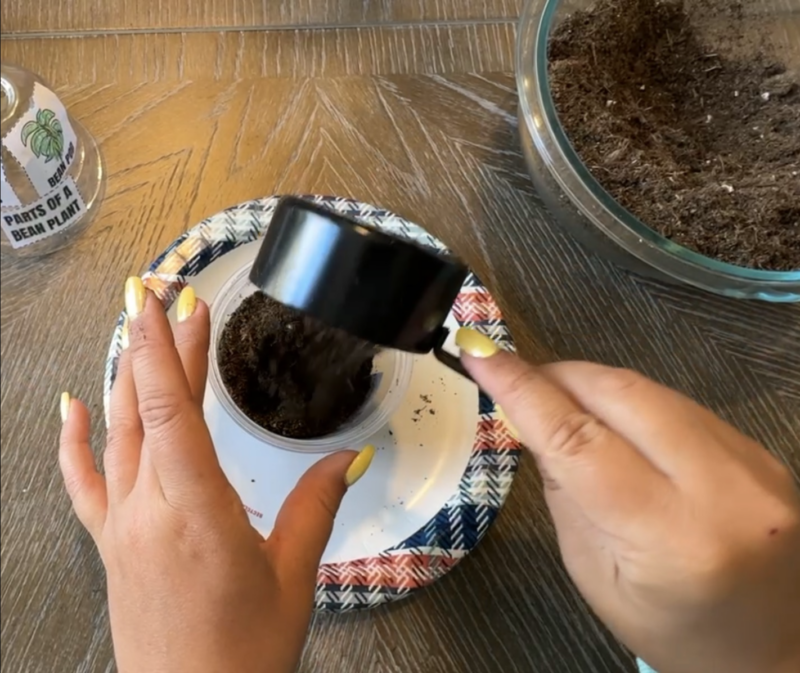
Fill two containers with soil, adding plants to one while leaving the other bare. Pour the same amount of water over each container and compare the runoff. Students can observe how roots help hold soil in place and reduce erosion.
26. Study water filtration
- Difficulty: Easy
- Materials: Basic
- Materials Needed: Plastic bottles or cups, coffee filters, sand, gravel, cotton balls, dirty water, containers
Layer gravel, sand, cotton, and a coffee filter inside a cut plastic bottle or cup. Pour dirty water through the materials and compare the filtered water with the original sample. Remind students that clearer water is not necessarily safe to drink.
27. Hypothesize about climate change
- Difficulty: Easy
- Materials: Medium
- Materials Needed: Temperature graphs, ecosystem images, chart paper, markers, optional thermometers
Present students with temperature data and examples of changing environmental conditions. Ask them to form hypotheses about how these changes might affect plants, animals, water availability, or habitats. Students can use evidence to explain possible ecosystem impacts.
28. Study the greenhouse effect
- Difficulty: Medium
- Materials: Medium
- Materials Needed: 2 clear containers, thermometers, plastic wrap, soil, lamp or sunlight
Set up two containers with soil and thermometers, covering one with plastic wrap while leaving the other open. Place both in sunlight or beneath a lamp and record temperature changes. Students can compare the results and discuss how trapped heat relates to the greenhouse effect.
29. Measure heat capacity
- Difficulty: Advanced
- Materials: Advanced
- Materials Needed: Calorimeter or insulated cups, water, thermometer, heating element or warm water, timer, adult supervision
Measure how the temperature of water changes as energy is added over time. Students can record temperatures at regular intervals and compare water with another material if appropriate. Use the activity to explore heat capacity and why water helps regulate temperatures in ecosystems.
30. Track plant growth with different light colors
- Difficulty: Medium
- Materials: Medium
- Materials Needed: Similar potted plants, water, colored cellophane or LED lights, ruler, observation sheets
Expose similar plants to different colors of light while keeping the amount of water, soil, and growing time consistent. Measure plant growth over several weeks. Students can compare the results and discuss how light energy affects photosynthesis and plant development.
Earth’s Systems
These 5th grade science projects bring Earth science to life through models and experiments. Students can explore erosion, groundwater, ocean currents, the water cycle, weathering, and other processes that shape our planet.
31. Peel an orange to understand plate tectonics
- Difficulty: Easy
- Materials: Basic
- Materials Needed: Orange, plate or flat surface
Peel an orange in several large pieces, then try to fit the segments back together around the fruit. Students can compare the peel pieces with Earth’s tectonic plates and discuss how they fit together, shift, and interact along their boundaries.
32. Make a mini rain cloud

- Difficulty: Easy
- Materials: Basic
- Materials Needed: Clear jar or cup, water, shaving cream, food coloring, dropper
Fill a jar with water and add a layer of shaving cream on top to represent a cloud. Slowly add drops of colored water to the shaving cream. Students can watch the “rain” fall when the cloud becomes saturated, modeling precipitation.
33. Test the effects of acid rain
- Difficulty: Medium
- Materials: Medium
- Materials Needed: Vinegar, water, chalk, leaves or small plants, cups, labels, droppers
Prepare cups with water and diluted vinegar solutions, then place chalk or plant materials in each one. Observe changes over several days. Students can compare the results and discuss how acidic precipitation contributes to weathering and affects ecosystems.
34. Build a solar oven
- Difficulty: Medium
- Materials: Medium
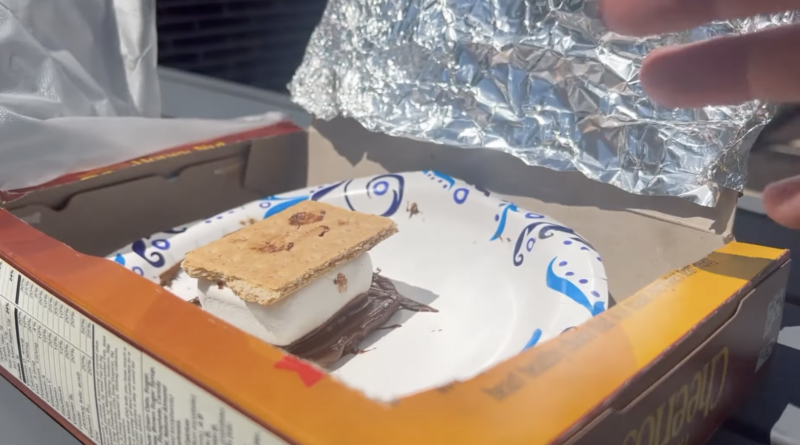
- Materials Needed: Cardboard box, aluminum foil, plastic wrap, black paper, tape, food item, thermometer if desired, sunlight
Line a cardboard box with foil and black paper, then cover the opening with plastic wrap. Place a small food item inside and set the oven in direct sunlight. Students can monitor temperature changes and observe how sunlight is absorbed and trapped as thermal energy.
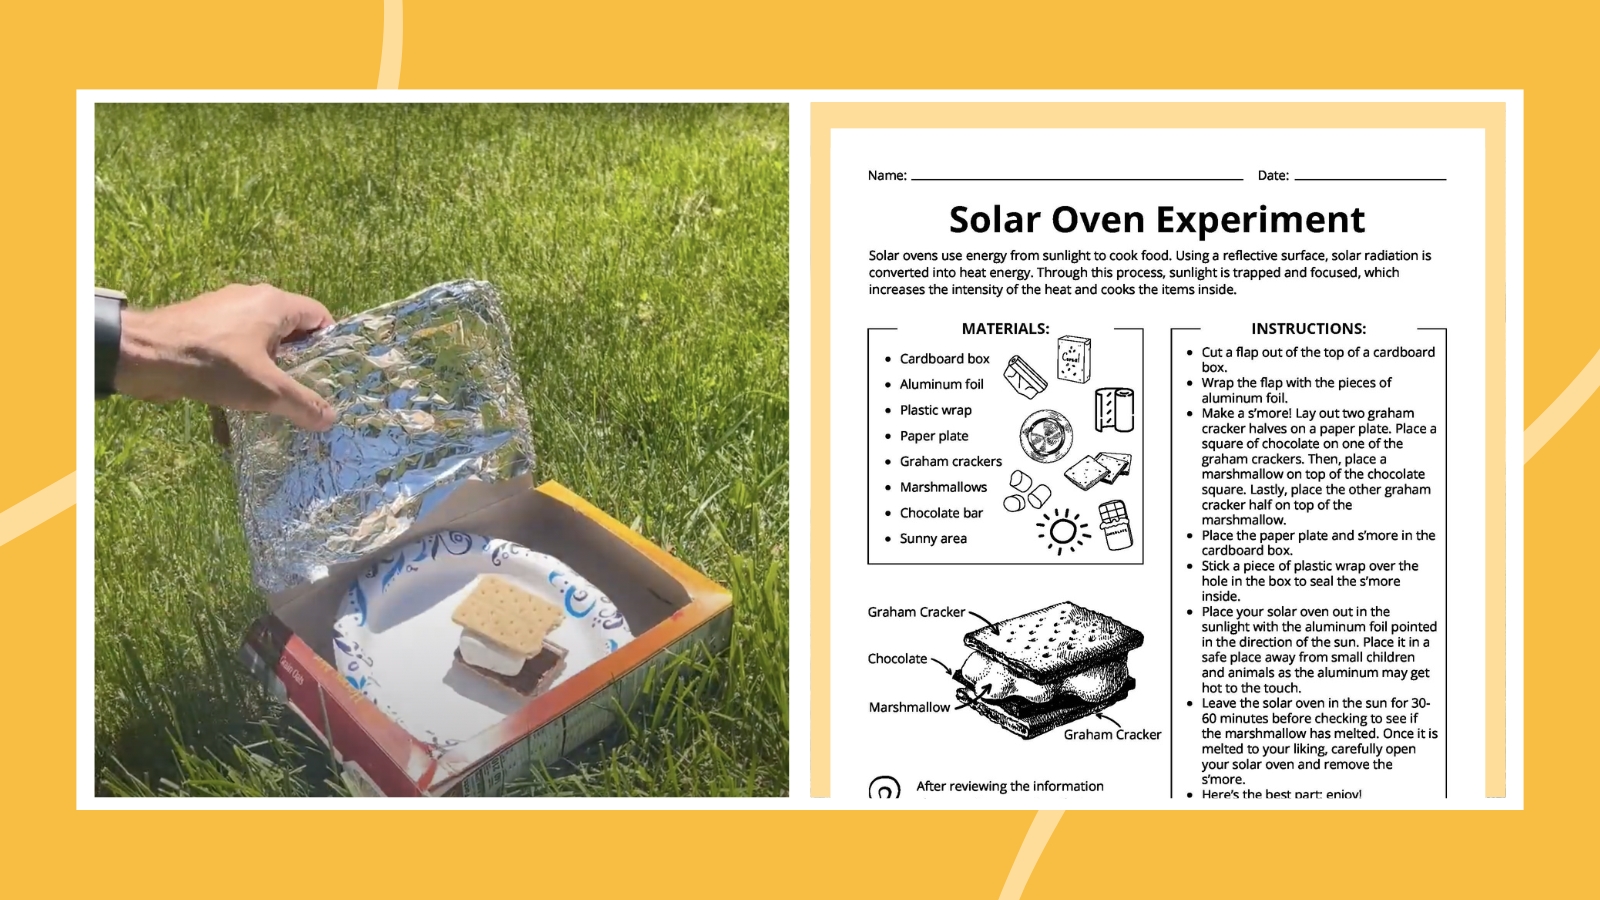
Solar Oven Experiment (Worksheet + Demo Video)
Watch the video to learn how to build a safe solar oven. Then grab your free printable experiment recording sheet.
35. Create a water table to study groundwater
- Difficulty: Medium
- Materials: Medium
- Materials Needed: Clear container, sand, gravel, soil, water, food coloring, cup
Layer sand, gravel, and soil in a clear container. Slowly pour colored water over the surface and watch how it moves through the materials. Students can observe infiltration, groundwater storage, and the way water collects in underground spaces.
36. Simulate ocean currents
- Difficulty: Medium
- Materials: Medium
- Materials Needed: Large clear pan, water, ice cubes, warm water, food coloring, cups
Place cold colored water or ice on one side of a container and warm colored water on the other. Students can watch currents form as differences in temperature and density cause the water to move. Use the activity to introduce ocean circulation.
37. Observe erosion with wind and water
- Difficulty: Medium
- Materials: Medium
- Materials Needed: Sand, small rocks, trays, straws, water droppers or spray bottle
Build small landforms from sand and rocks inside trays. Use straws to blow across some of the models and droppers to add water to others. Students can compare how wind and water reshape the surface over time.
38. Simulate a water cycle in a bag
- Difficulty: Easy
- Materials: Basic
- Materials Needed: Resealable plastic bag, water, blue food coloring, permanent marker, tape, sunny window
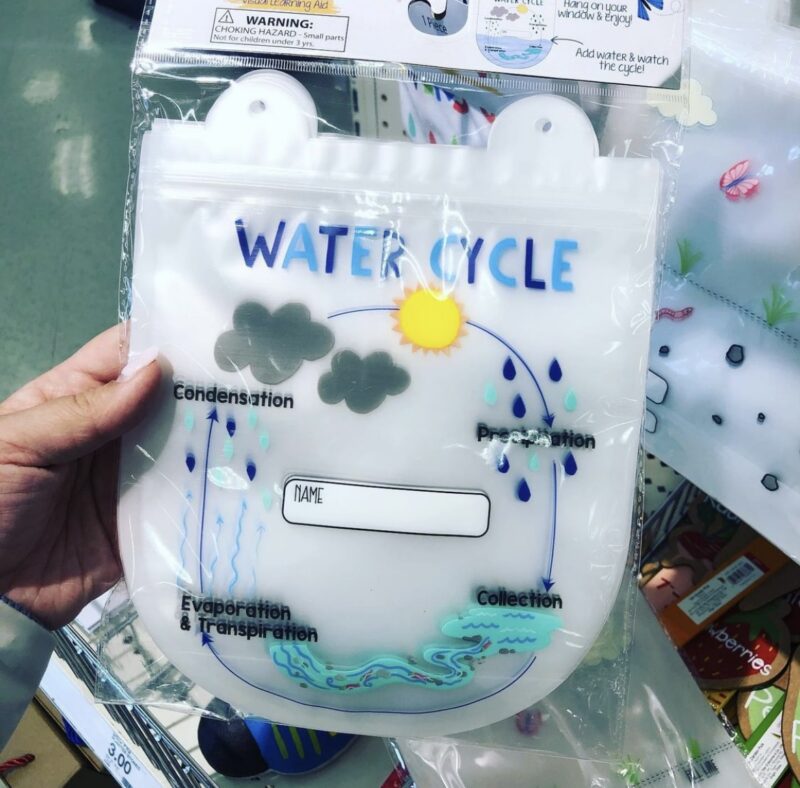
Add a small amount of colored water to a resealable bag and tape it to a sunny window. Students can watch water evaporate, condense on the sides of the bag, and collect into droplets. Label the stages to reinforce the processes of the water cycle.
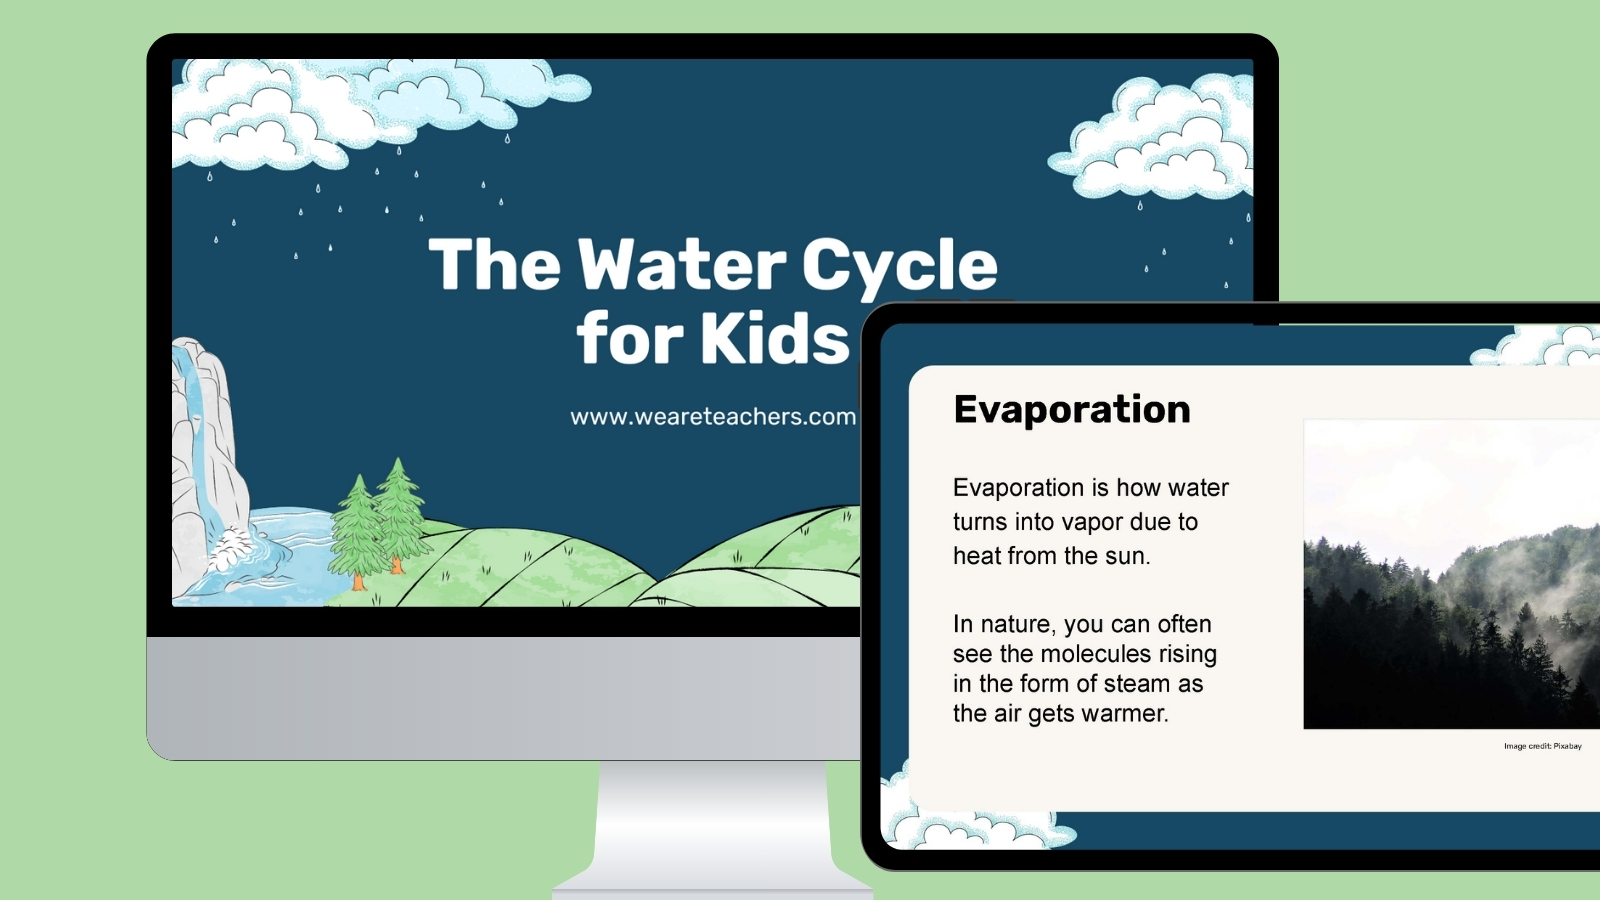
The Water Cycle for Kids (Slides + Video)
Watch the video to learn more about the water cycle. Then grab your free slides to use with your students.
39. Build a vortex in a bottle
- Difficulty: Medium
- Materials: Medium
- Materials Needed: 2 plastic bottles, water, duct tape or bottle connector, glitter if desired
Fill one bottle with water, connect it securely to a second bottle, and turn the setup upside down. Swirl the water in a circular motion and observe the vortex that forms. Students can explore how rotating fluids create a funnel shape.
40. Observe rock weathering with sugar and ice
- Difficulty: Medium
- Materials: Medium
- Materials Needed: Small rocks, ice cubes, sugar or salt, containers, magnifying glass
Place rocks in containers and expose them to repeated freezing and melting conditions using ice and sugar or salt. Observe the surfaces over time with a magnifying glass. Students can discuss how changes in temperature and water contribute to physical weathering in nature.
Space Systems: Stars and the Solar System
Help students look beyond Earth with 5th grade science projects about stars, planets, moon phases, and solar energy. These activities use simple models and demonstrations to make space systems easier for students to visualize.
41. Model constellations
- Difficulty: Easy
- Materials: Basic
- Materials Needed: Pipe cleaners, beads or small foam balls, constellation reference images
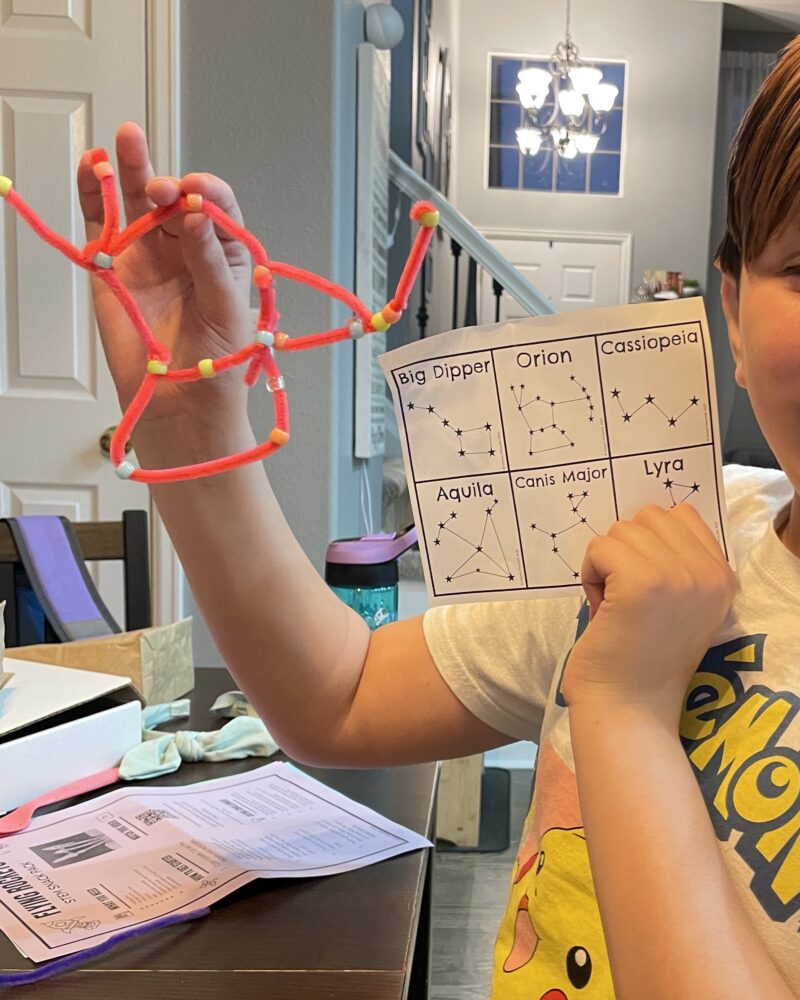
Use beads or small balls to represent stars and connect them with pipe cleaners. Students can re-create familiar constellations or design their own. Compare the models with star maps and discuss how constellations help people identify patterns in the night sky.
42. Learn why stars are only visible at night
- Difficulty: Easy
- Materials: Basic
- Materials Needed: Flashlight, dark room, small lights or reflective objects
Place small lights or reflective objects around a darkened room to represent stars. Turn on a bright flashlight to represent the sun and observe how the dimmer objects become harder to see. Discuss why sunlight makes stars difficult to observe during the day.
43. Replicate a sunset
- Difficulty: Easy
- Materials: Medium
- Materials Needed: Clear container, water, small amount of powdered milk, flashlight, dark room
Mix a small amount of powdered milk into water and shine a flashlight through the container. Students can observe how the light changes color as it passes through the mixture. Use the model to explain how particles in the atmosphere scatter light during a sunset.
44. Launch your own bottle rocket
- Difficulty: Advanced
- Materials: Advanced
- Materials Needed: Plastic bottle, vinegar, baking soda, cork, paper towel, launcher setup, safety goggles, outdoor space, adult supervision
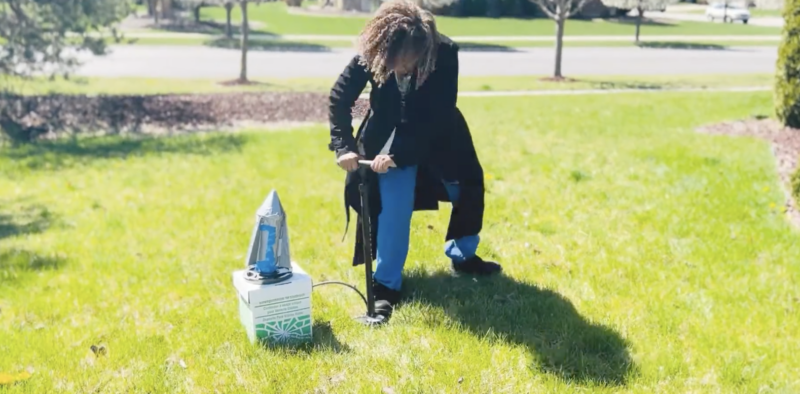
Build and launch a bottle rocket outdoors using a baking soda and vinegar reaction. As carbon dioxide gas builds up inside the bottle, pressure eventually forces the cork out and launches the rocket. Students can explore force, motion, gas pressure, and energy transfer while following careful safety procedures.
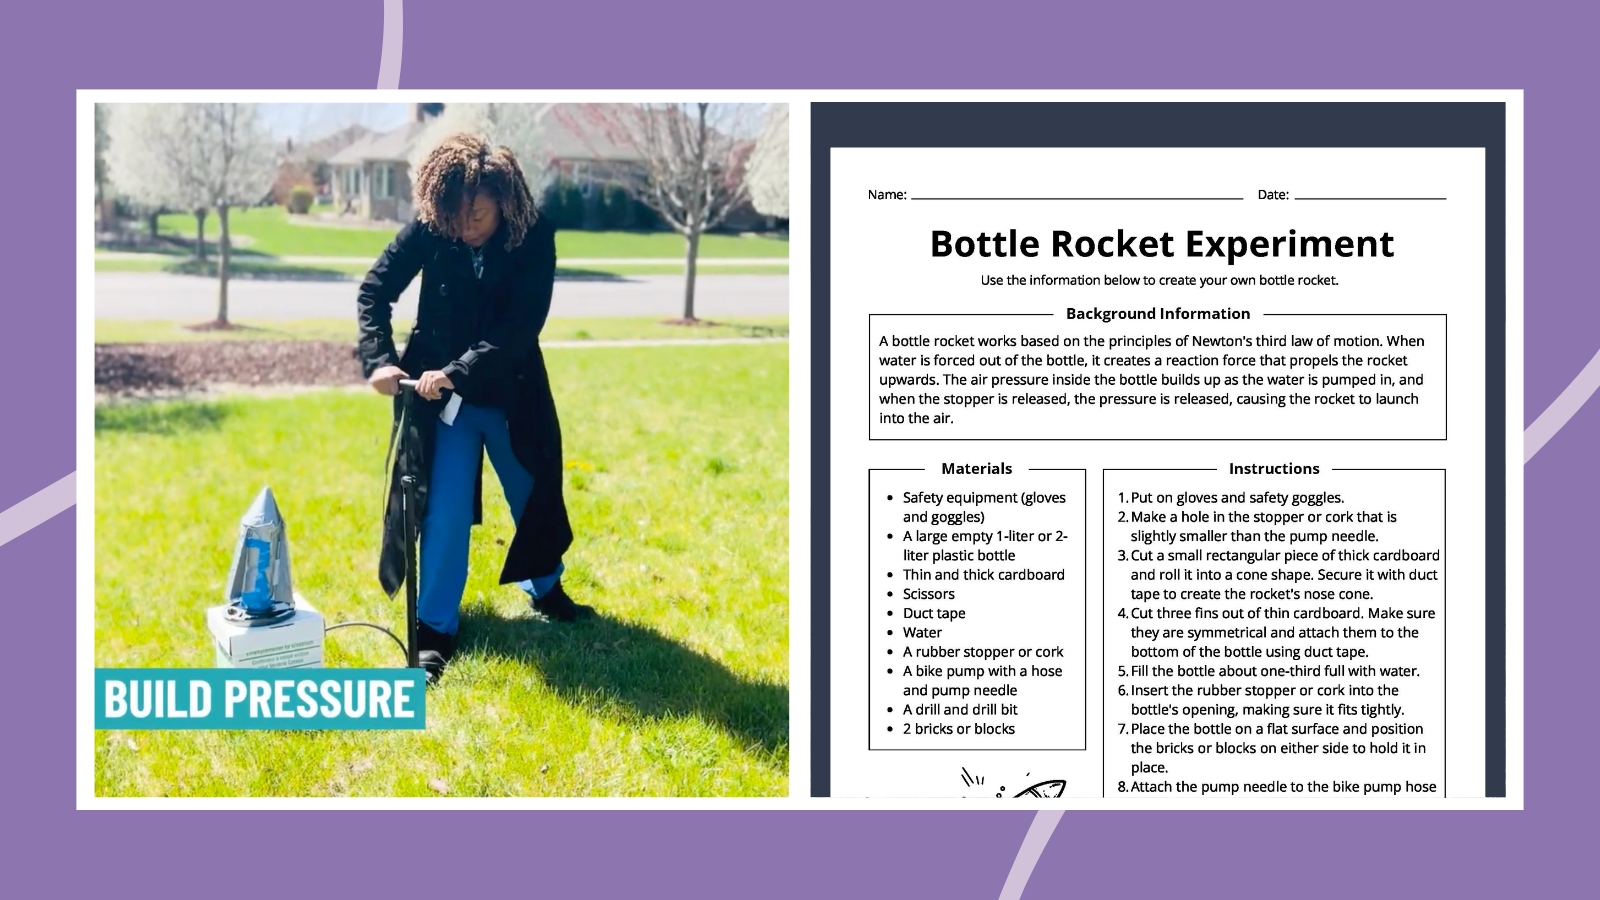
Bottle Rocket Experiment (Worksheet + Demo Video)
Watch the demo video and grab your free Bottle Rocket Experiment instructions and worksheet for students.
45. Observe moon phases with Oreo cookies
- Difficulty: Easy
- Materials: Basic
- Materials Needed: Oreo or similar sandwich cookies, plastic knives or craft sticks, paper plates
Twist open sandwich cookies and shape the filling to represent the phases of the moon. Arrange the cookies in order from new moon through full moon and back again. Students can connect the models to the repeating patterns they observe in the night sky.
46. Build a model of the solar system
- Difficulty: Medium
- Materials: Medium
- Materials Needed: Foam balls, string, paint, skewers or cardboard, labels
Use foam balls and paint to create models of the sun and planets. Arrange them in order and compare their relative sizes. Discuss the challenge of showing the enormous distances between planets accurately in a classroom-sized model.
47. Defy gravity with floating water
- Difficulty: Easy
- Materials: Basic
- Materials Needed: Cup, index card, water, tray or sink
Fill a cup with water, cover it with an index card, and carefully turn it upside down. Slowly remove your hand from the card and observe that the water stays inside the cup. Students can explore how air pressure pushes upward against the card.
48. Spin a candle-powered pinwheel
- Difficulty: Medium
- Materials: Medium
- Materials Needed: Lightweight paper pinwheel, candle, stand, heat-proof surface, adult supervision
Position a lightweight pinwheel above a candle flame, leaving a safe distance between the paper and the flame. As warm air rises, the pinwheel begins to spin. Use this adult-led demonstration to explore convection and the transfer of thermal energy.
49. Model crater formation on the moon
- Difficulty: Easy
- Materials: Medium
- Materials Needed: Tray, flour or sand, cocoa powder if desired, marbles or small rocks, ruler
Fill a tray with flour or sand and drop marbles from different heights. Students can measure and compare the craters that form. Experiment with different rock sizes and drop angles to explore how impact events shape planetary surfaces.
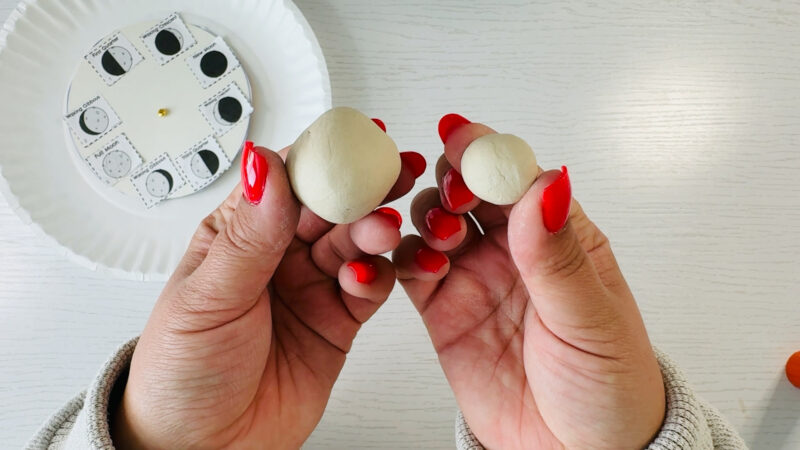
50. Compare planet sizes using clay
- Difficulty: Medium
- Materials: Basic
- Materials Needed: Clay or dough, planet size reference
Students shape clay or dough to represent planets based on relative size. They can arrange the planets from smallest to largest and compare how different they are. This activity gives students a visual way to understand the scale of planets in our solar system.
Engineering Design
These 5th grade science projects challenge students to build, test, improve, and try again. From bridges and towers to cars, boats, and catapults, each activity encourages problem-solving, creativity, and real-world engineering thinking.
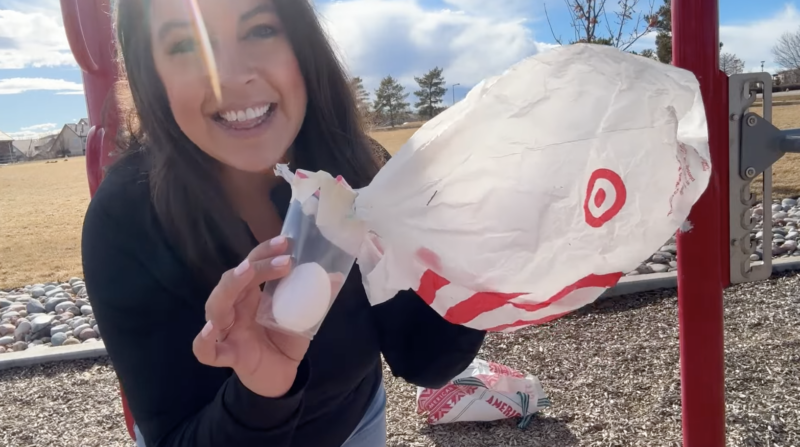
51. Try the Egg Drop Challenge
- Difficulty: Medium
- Materials: Medium
- Materials Needed: Eggs, straws, tape, paper, cups, boxes, cotton balls, bubble wrap, or other protective materials
Challenge students to design a container that protects an egg when dropped from a set height. After each test, examine the results and discuss which features absorbed energy most effectively. Encourage students to revise their designs before trying again.
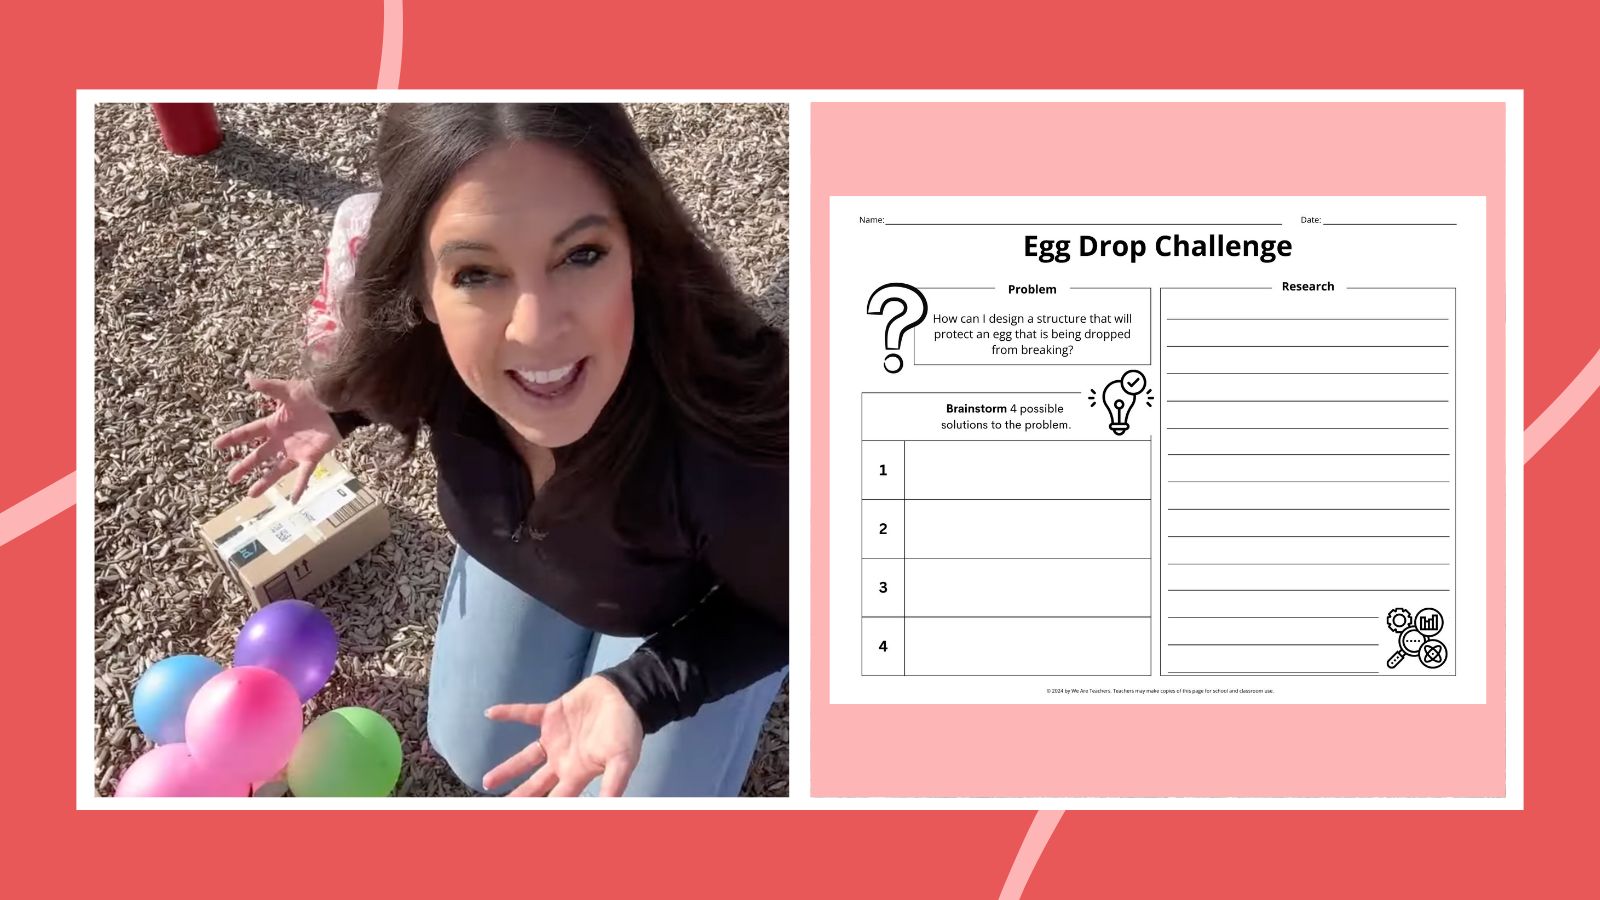
Egg Drop Challenge (Worksheet + Video)
Watch the video to learn how to do the Egg Drop Challenge. Then have students fill out the worksheet.
52. Make a pyramid catapult
- Difficulty: Easy
- Materials: Basic
- Materials Needed: Craft sticks, rubber bands, plastic spoon or bottle cap, pom-poms
Build a simple catapult using craft sticks and rubber bands, then launch soft pom-poms toward a target. Students can test how changing the angle or number of craft sticks affects distance. Use the activity to explore stored energy, force, and motion.
53. Create a self-powered boat
- Difficulty: Medium
- Materials: Medium
- Materials Needed: Foam tray or cardboard, rubber bands, craft sticks, tape or glue, scissors, water bin
Design a small boat powered by a rubber-band paddle. Wind the rubber band, place the boat in water, and release it. Students can test different hull shapes and paddle sizes to explore elastic energy and iterative engineering design.
54. Build a balloon-powered car
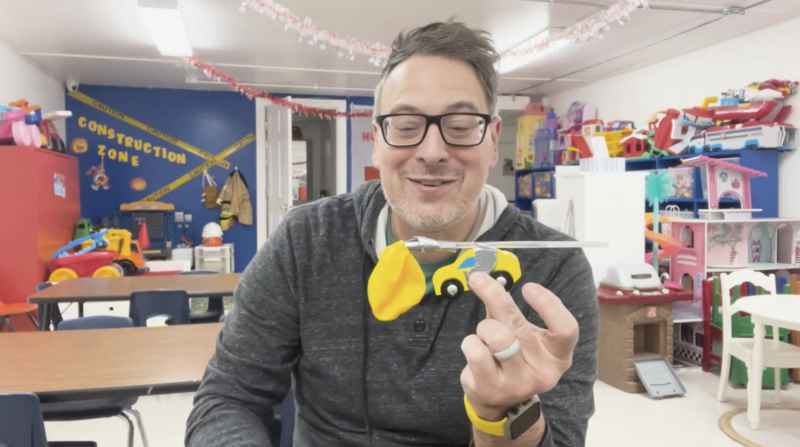
- Difficulty: Medium
- Materials: Medium
- Materials Needed: Balloon, straw, tape, small toy car or student-built car, open floor space
Attach a straw to a balloon and tape it securely to a small car. Inflate the balloon through the straw, then release it and watch the car move forward. Students can change the car’s design and compare how each adjustment affects speed or distance.
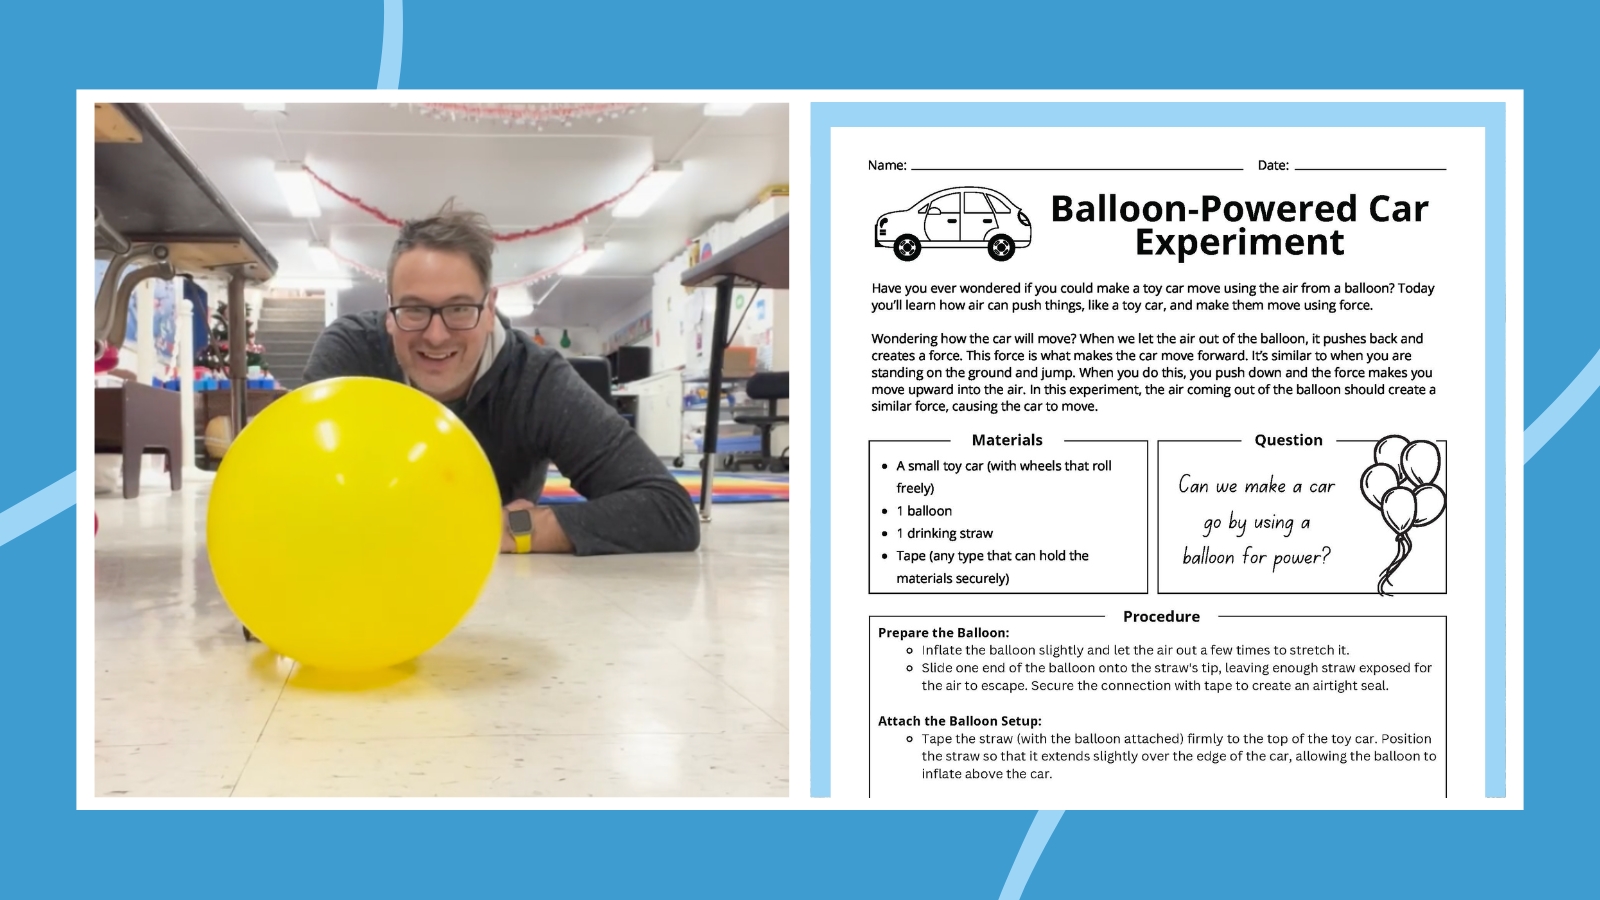
Balloon-Powered Car Experiment (Worksheet + Video)
Watch the video to learn how to make a balloon-powered car. Then have students fill out the worksheet.
55. Race down a LEGO zip line
- Difficulty: Medium
- Materials: Basic
- Materials Needed: LEGO bricks, string, tape, paper clips, small weights if desired
Stretch string between two points and design a LEGO carrier that can travel down the zip line. Students can adjust the slope, weight, and design to improve speed or stability. Use the challenge to explore gravity, friction, and engineering trade-offs.
56. Slow your roll with ramps
- Difficulty: Medium
- Materials: Medium
- Materials Needed: Cardboard ramps, balls or toy cars, books or blocks, tape, timer, ruler
Build a ramp system designed to make a ball or toy car travel as slowly as possible without stopping. Students can adjust slopes, turns, and surfaces to increase travel time. Discuss how friction and gravity affect motion.
57. Fly clothespin airplanes
- Difficulty: Medium
- Materials: Medium
- Materials Needed: Clothespins, craft sticks, glue, cardstock, rubber bands if desired, measuring tape
Build simple airplanes from clothespins and craft sticks, then test how far they glide or travel. Students can modify wing size, balance, and weight placement. Compare results to explore aerodynamics and iterative design.
58. Study the effect of different surfaces on friction
- Difficulty: Medium
- Materials: Medium
- Materials Needed: Toy cars, ramp, sandpaper, cardboard, fabric, foil, ruler or measuring tape
Roll a toy car down the same ramp onto different surfaces and measure how far it travels. Students can compare results and identify which surfaces create the most friction. Encourage them to predict outcomes before testing.
59. Build a vending machine
- Difficulty: Advanced
- Materials: Advanced
- Materials Needed: Cardboard, tape, scissors, recycled materials, small items to dispense, adult supervision
Challenge students to design a cardboard vending machine that dispenses one item at a time. They can test levers, ramps, slots, and other simple mechanisms. The project encourages problem-solving, mechanical design, and persistence through trial and error.
60. Construct a sturdy bridge
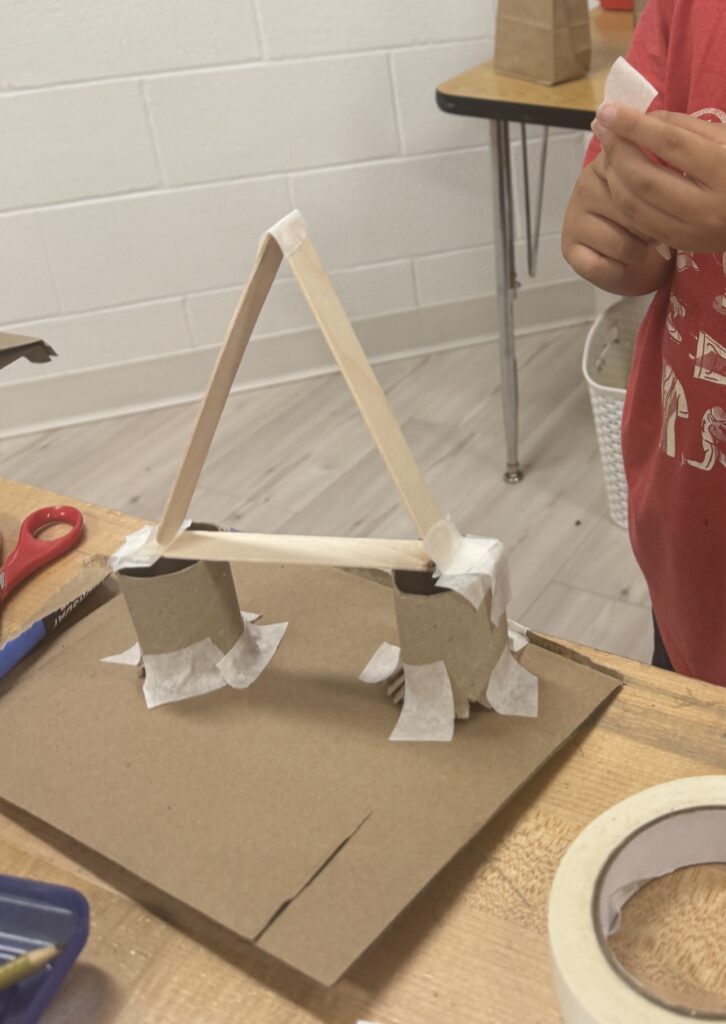
- Difficulty: Medium
- Materials: Basic
- Materials Needed: Craft sticks, tape or glue, coins or metal washers, cups or blocks for supports
Design a bridge that spans a gap and holds as much weight as possible. Add coins or washers gradually and record the maximum load. Students can compare bridge shapes and revise their designs to improve strength.
61. Design a paper tower that holds a book
- Difficulty: Medium
- Materials: Basic
- Materials Needed: Paper or newspaper, tape, book for testing
Build a freestanding tower using only paper and tape, then test whether it can support a book. Students can experiment with rolled paper columns, folded shapes, and wider bases. Discuss how weight distribution affects structural stability.
62. Make a bridge from spaghetti
- Difficulty: Medium
- Materials: Basic
- Materials Needed: Dry spaghetti, marshmallows or modeling clay, tape if desired, small weights
Construct a bridge using dry spaghetti and connectors such as marshmallows. Add small weights gradually to test the bridge’s strength. Students can investigate how tension, compression, and triangular supports affect a structure.
63. Build a Ferris wheel
- Difficulty: Advanced
- Materials: Medium
- Materials Needed: Craft sticks, glue, cardboard, skewers, straws, small cups or baskets, adult supervision
Design and build a Ferris wheel that can rotate around a central axle. Students can test different supports and connections until the wheel turns smoothly. Use the project to explore motion, balance, mechanical systems, and iterative design.
64. Design a phone stand
- Difficulty: Medium
- Materials: Basic
- Materials Needed: Cardboard, tape, scissors, ruler, phone-sized template or device for testing
Create a stand that holds a phone upright at a useful viewing angle. Students can test stability and make improvements using limited materials. Encourage them to consider function, durability, and user needs as part of the design process.
Fun Science Fair Projects
65. Blow giant bubbles
- Difficulty: Medium
- Materials: Medium
- Materials Needed: Bubble solution, straws or sticks, yarn or string, tray, hot glue if desired, adult supervision
Create a large bubble wand using straws or sticks connected with yarn. Dip it into bubble solution and slowly move it through the air to form giant bubbles. Students can change the wand size or bubble-solution recipe and compare the results.
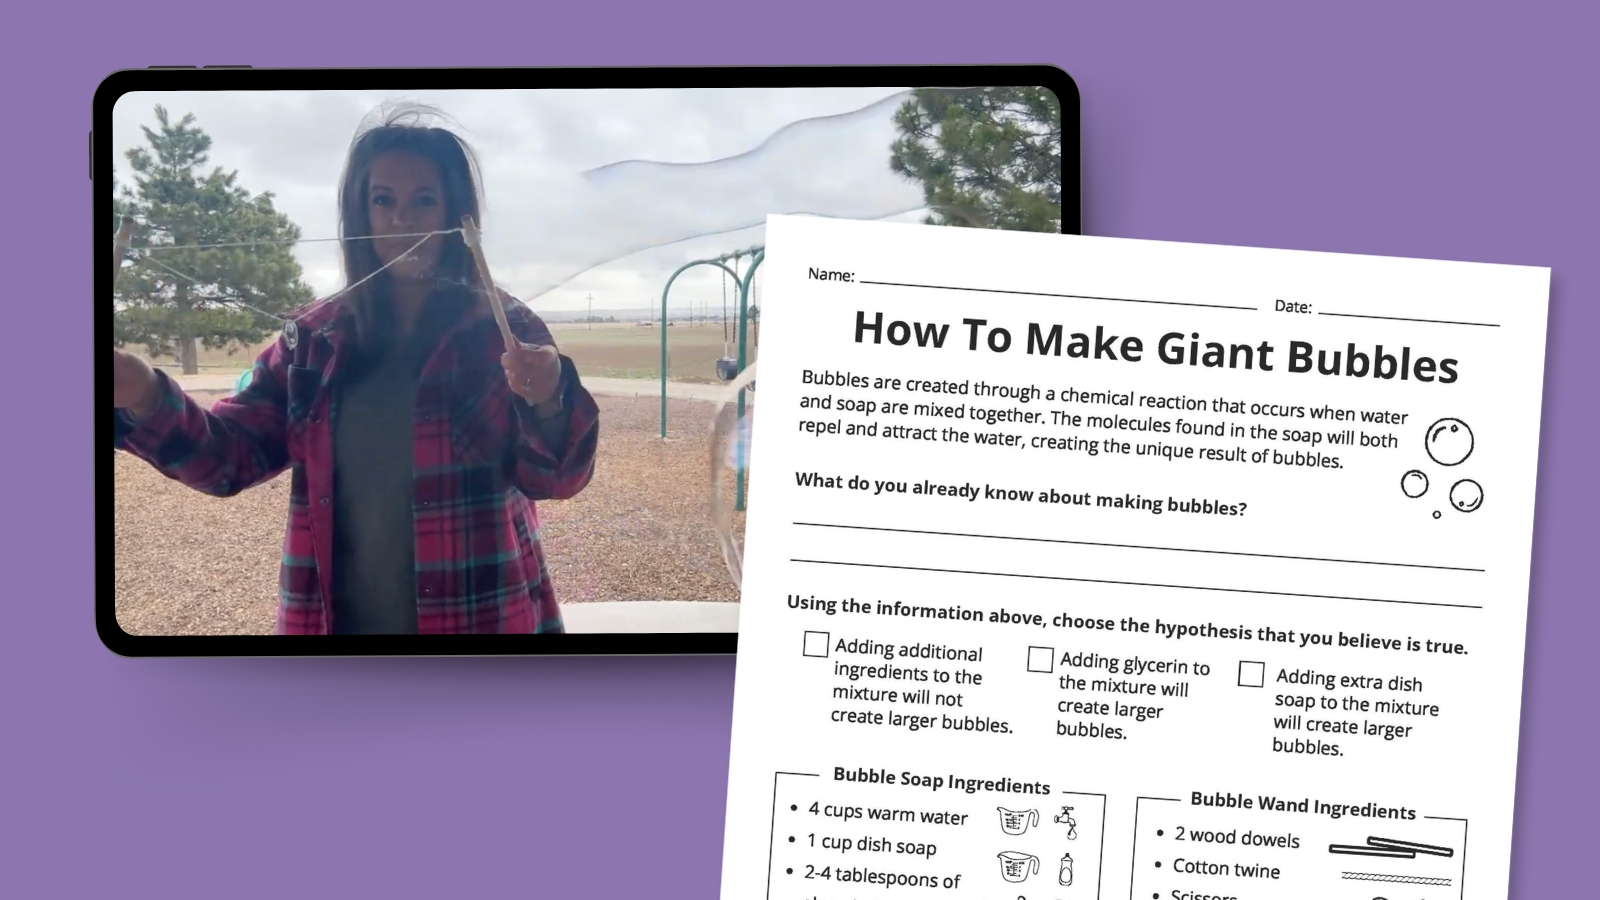
Giant Bubble Experiment (Worksheet + Video)
Watch the video to learn how to make giant bubbles. Then have students fill out the observation sheet.
66. Test how temperature affects yeast activity
- Difficulty: Medium
- Materials: Medium
- Materials Needed: Yeast, sugar, warm water, cold water, bottles, balloons, thermometer if desired
Add yeast, sugar, and water at different temperatures to separate bottles, then place balloons over the openings. Students can observe how quickly each balloon inflates as the yeast produces carbon dioxide. Compare the results to explore how temperature affects biological activity.
67. Test which material insulates best
- Difficulty: Easy
- Materials: Basic
- Materials Needed: Cups, ice cubes, cloth, foil, paper, bubble wrap, timer, ruler or scale if desired
Wrap cups with different insulating materials and place the same number of ice cubes inside each one. Measure how much ice remains after a set period. Students can compare the materials and determine which one slows heat transfer most effectively.
68. Find out which liquids conduct electricity
- Difficulty: Advanced
- Materials: Advanced
- Materials Needed: Low-voltage batteries, wires with clips, LED bulb, cups, water, salt water, juice, oil, adult supervision
Use a low-voltage battery circuit to test whether different liquids allow electricity to flow. Students can record whether the LED lights up for each sample and compare the results. Use battery power only, keep liquids away from outlets, and have an adult manage the setup.
69. Investigate the effect of music on plant growth
- Difficulty: Advanced
- Materials: Advanced
- Materials Needed: Similar potted plants, water, sunlight or grow lights, music source, ruler, observation sheet
Expose similar plants to different music conditions while keeping water, soil, and light consistent. Measure growth over several weeks and compare the results. Discuss whether the data supports the original hypothesis and why controlling variables matters.
70. Test how salt affects ice melting
- Difficulty: Easy
- Materials: Basic
- Materials Needed: Ice cubes, salt, tray, timer, cups or bowls
Place ice cubes in separate containers and sprinkle salt on some while leaving others plain. Observe which cubes melt fastest and record the results. Use the experiment to introduce freezing-point depression and explain why salt is used on icy roads.
71. Create and compare slime
- Difficulty: Easy
- Materials: Medium
- Materials Needed: Ingredients for several slime recipes, bowls, spoons, measuring tools, sealable containers
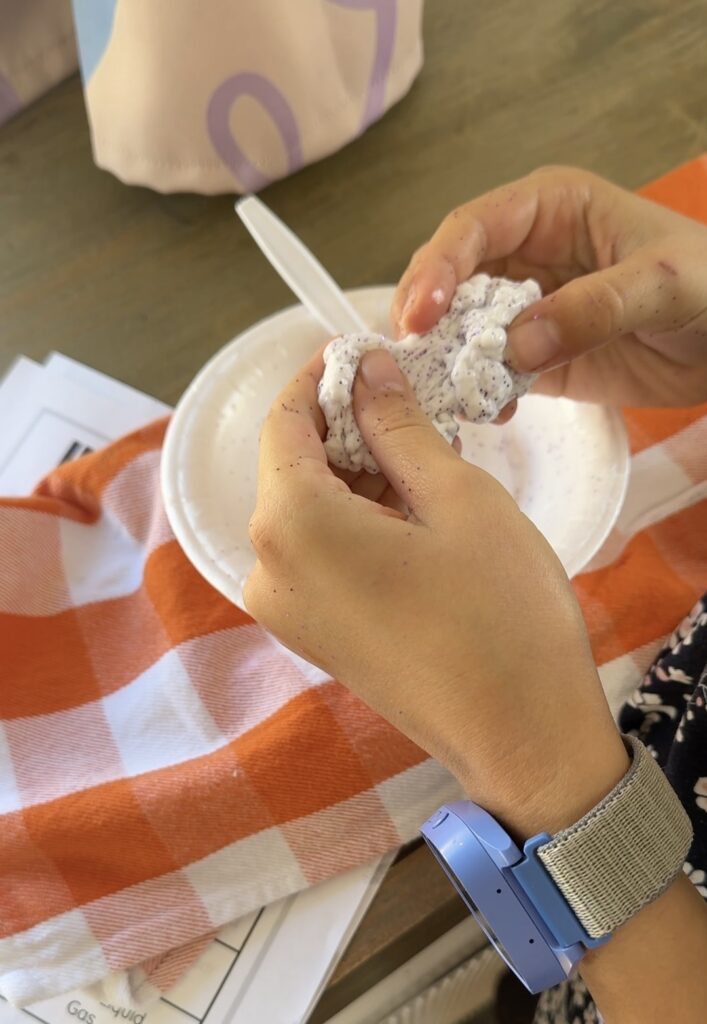
Make several types of slime and compare how each recipe behaves. Students can test how well each slime stretches, bounces, melts, breaks, or changes when chilled. Ask them to record observations and identify which ingredients affect the slime’s properties.
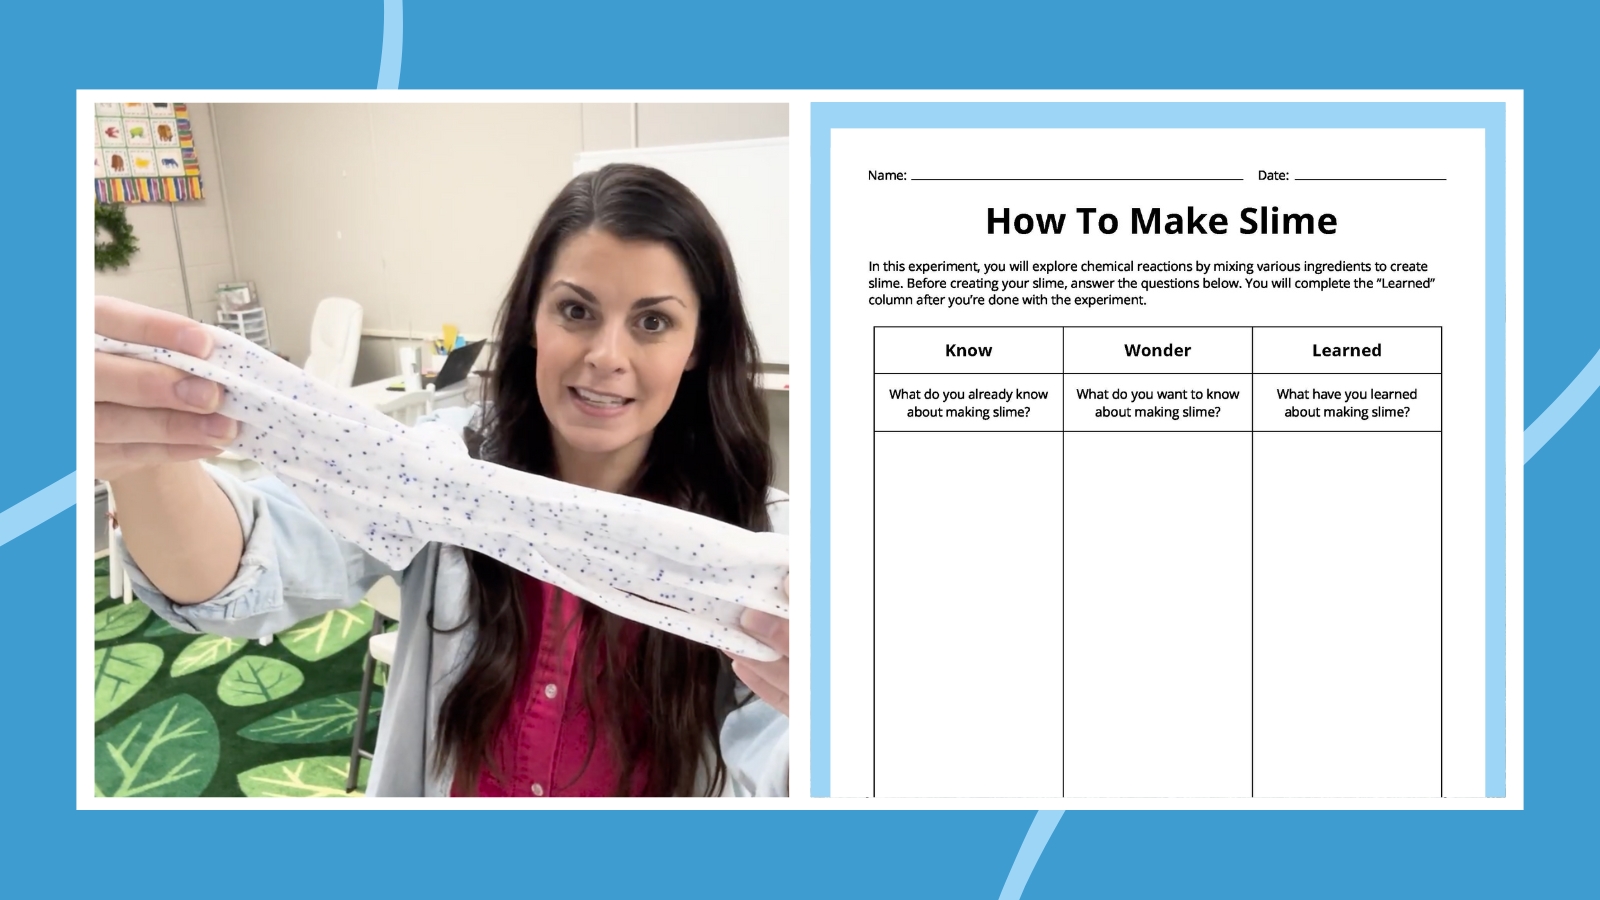
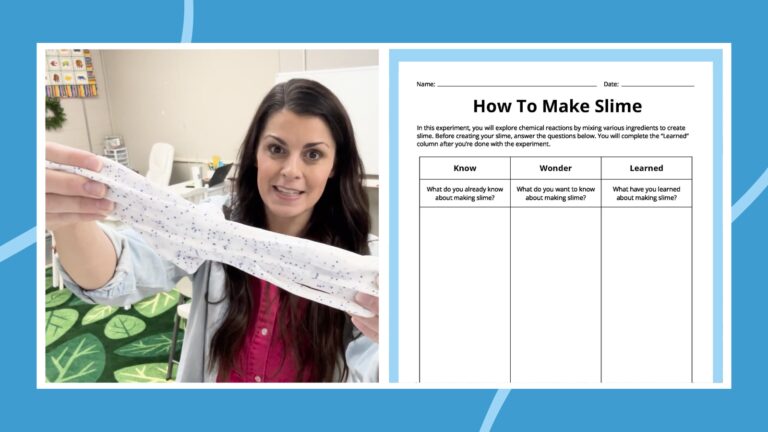
Slime Experiment (Worksheet + Video)
Learn how to make slime with a video that includes recipes. Then use the experiment worksheet to compare them.
72. Find out how bile breaks down fat
- Difficulty: Easy
- Materials: Basic
- Materials Needed: Oil or melted butter, water, dish soap, clear containers, droppers, spoons
Add oil and water to clear containers, then add dish soap to one sample and shake both containers gently. Students can observe how soap breaks the fat into smaller droplets. Explain that dish soap acts as a model for bile, which helps the body digest fats.
73. Observe mold growth on different foods
- Difficulty: Medium
- Materials: Medium
- Materials Needed: Bread, cheese, fruit, sealable plastic bags or clear containers, labels, gloves, adult supervision
Place different foods in separate sealed bags or containers and observe them over several days. Students can compare how quickly mold appears and record changes in color and coverage. Once sealed, the containers should remain closed and be discarded by an adult at the end of the experiment.
74. Test which liquid makes a balloon inflate fastest
- Difficulty: Easy
- Materials: Basic
- Materials Needed: Balloons, baking soda, vinegar, water, other test liquids, small bottles, funnel, timer
Add the same amount of baking soda to balloons and pour different liquids into labeled bottles. Attach each balloon to a bottle, lift it so the baking soda falls into the liquid, and time how quickly each balloon inflates. Students can compare reactions and discuss carbon dioxide production.
75. Make elephant toothpaste
- Difficulty: Medium
- Materials: Medium
- Materials Needed: 3% hydrogen peroxide, dish soap, yeast, warm water, plastic bottle, tray, safety goggles, gloves, adult supervision
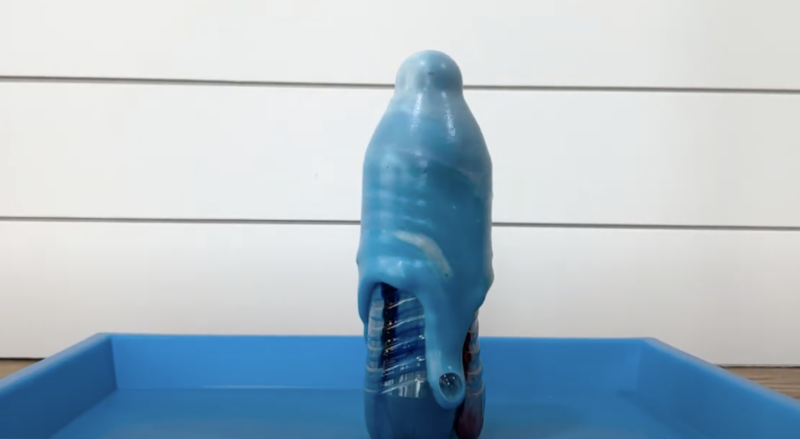
Mix dish soap and 3% hydrogen peroxide in a bottle, then add activated yeast. Students can watch foam rapidly expand as oxygen gas is released and trapped in the soap bubbles. Use the demonstration to discuss chemical reactions, catalysts, and gas production.
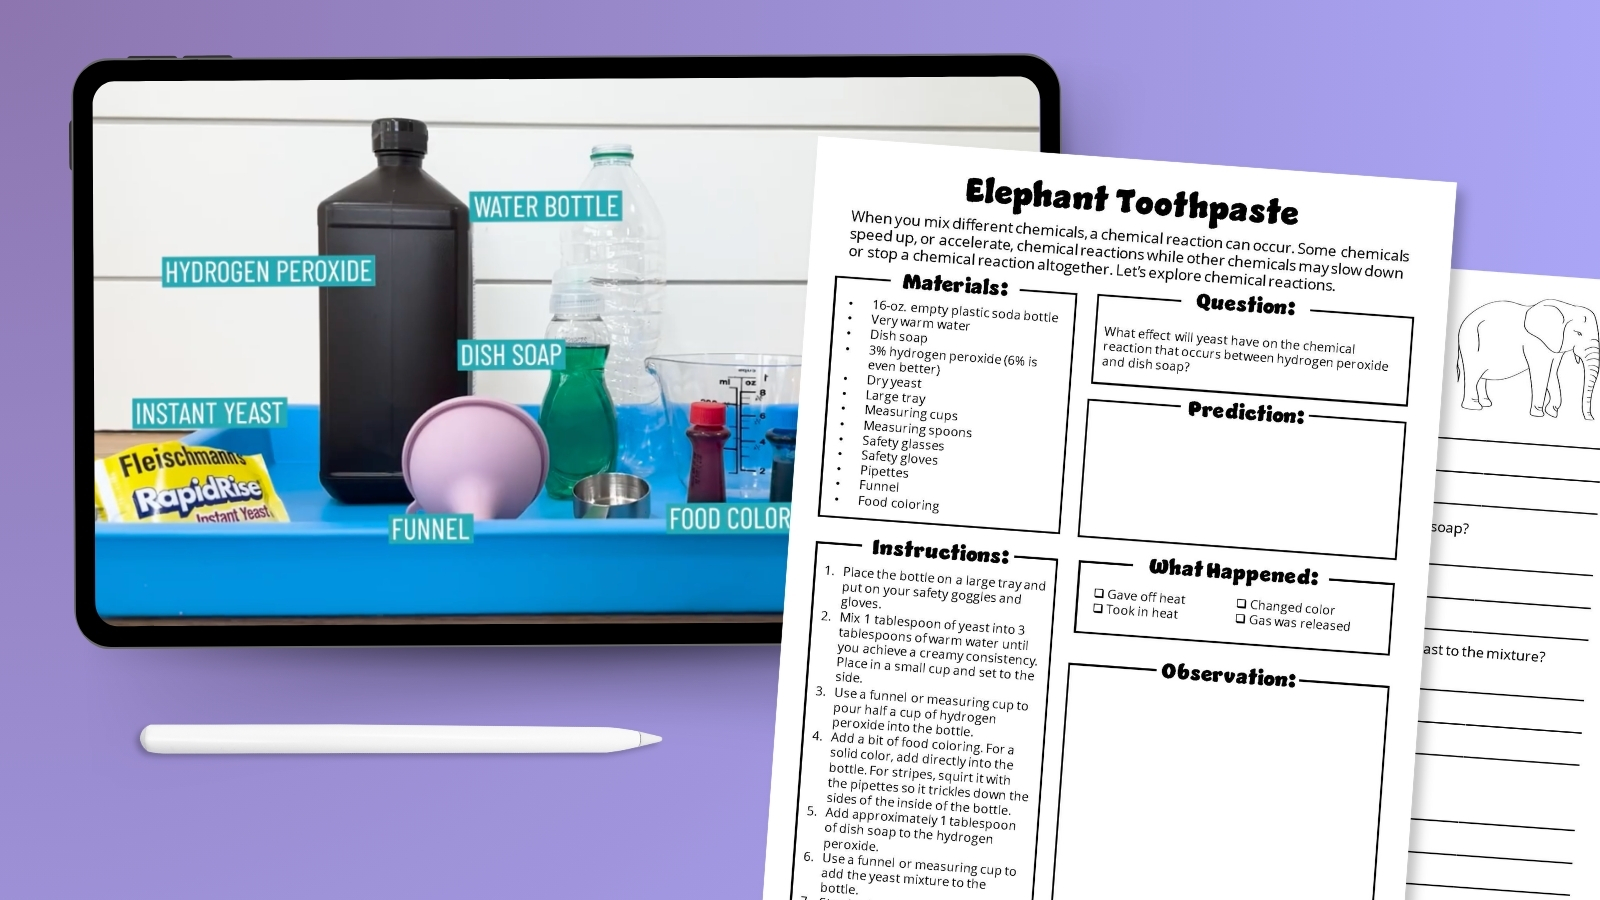
Elephant Toothpaste Experiment (Worksheet + Video)
Watch our demo video to learn how to make elephant toothpaste. Then have students fill out the observation sheet.
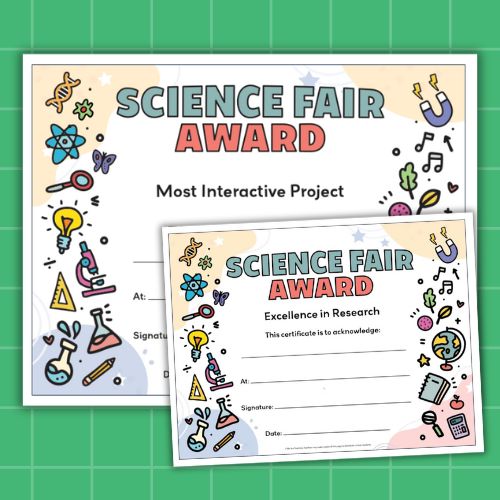
Get your free printable science fair awards!
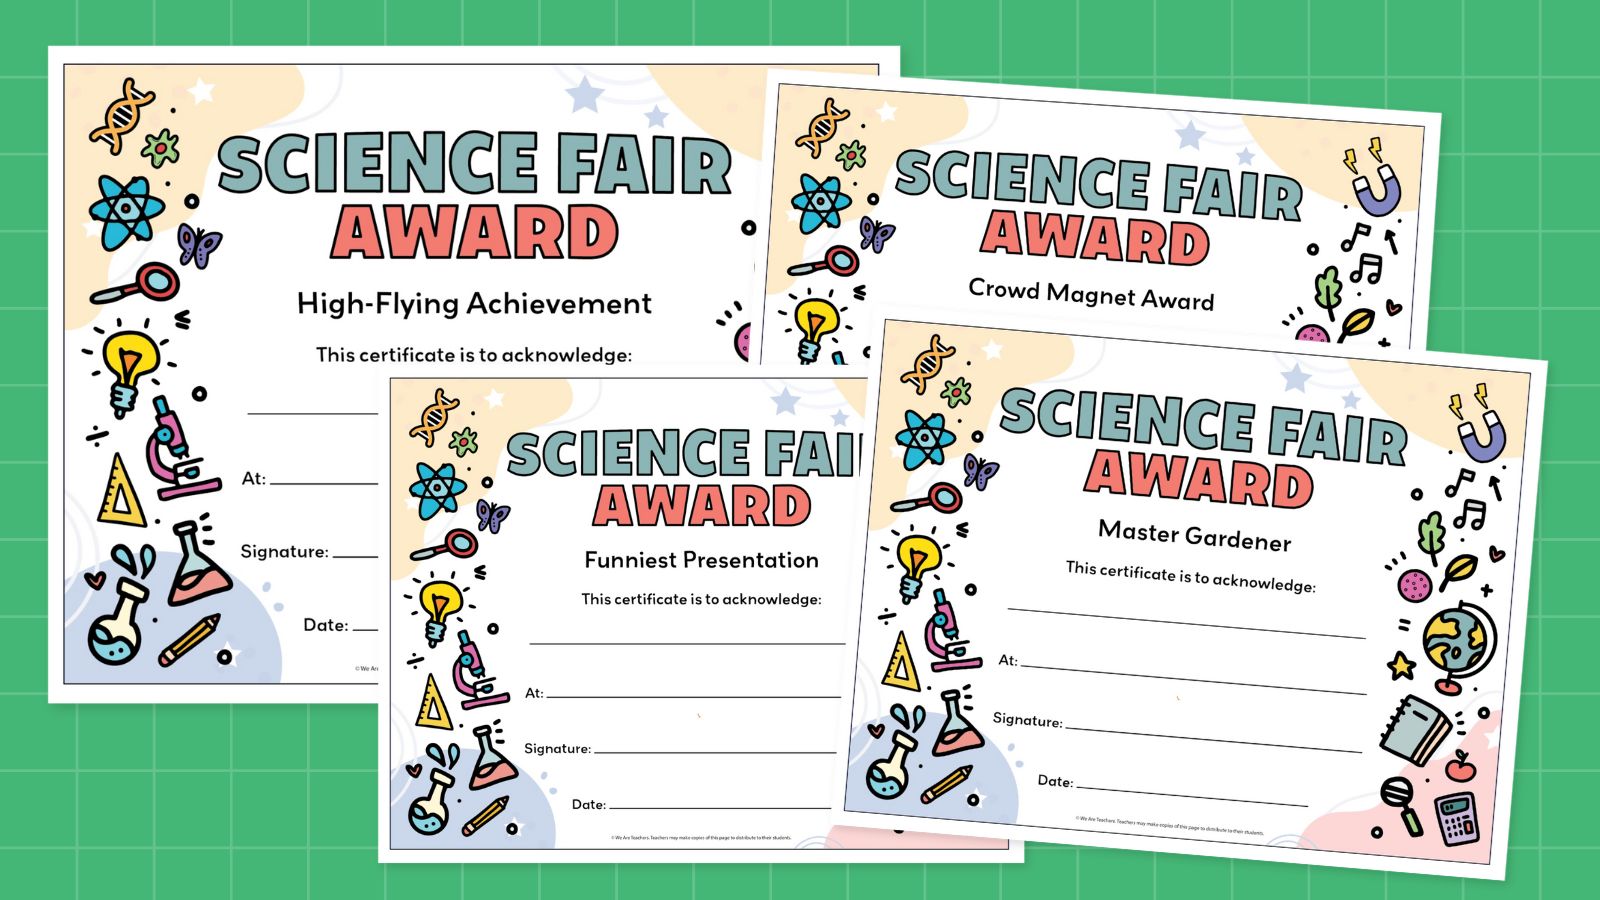
If you’re organizing a science fair, be sure to grab our free printable bundle of award certificates. There are more than 40 categories along with a customizable blank certificate so you can create your own awards. Just follow the link below and fill out the form to get them.