The weather outside is frightful … which means it’s time for some icy fun in your classroom! In my classroom, nothing creates winter excitement like my favorite cross-curricular Snowflake lesson (well, that and when the cafeteria serves hot cocoa on the coldest days of the year).
This lesson uses a combination of science facts, a little bit of art, some of my favorite winter literature, writing practice and one of my favorite classroom tools: LEGO® Education StoryStarter. In the end, the kids leave with some solidified science knowledge and a whole lot of excitement about winter weather.
(Even better: Teachers can win a class set of LEGO® Education StoryStarter—worth almost $400!—just for sharing what their ideal elementary classroom is like. Click over to enter to win and start your own LEGO® learning today.)
Here’s how Snowflake StoryStarter works in my first grade classroom:
Before we do this lesson, we study the water cycle to include condensation, evaporation and precipitation in class. My students also have a basic understanding of the three states of matter—solid, liquid and gas.
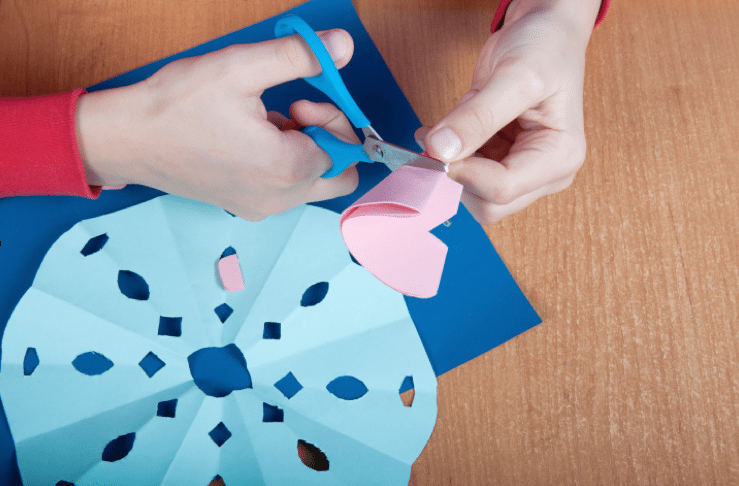
We start by making paper snowflakes by folding and cutting out various shapes. We hang them all over the classroom and it looks like we’re learning in a winter wonderland.
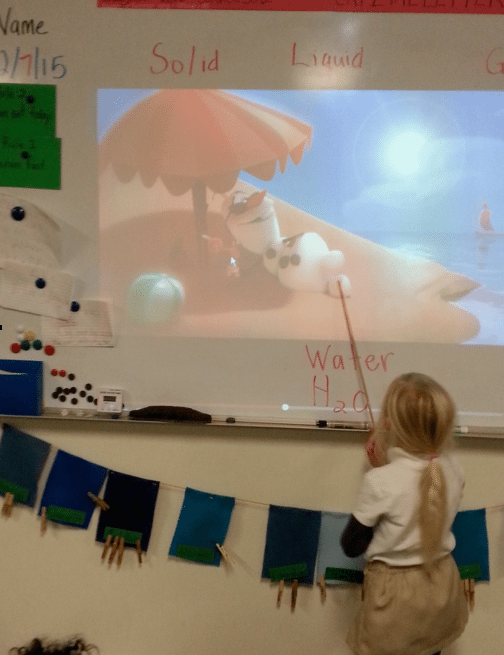
Next, I let my students watch “Olaf’s Song” from the Disney movie Frozen. We sing along and then we have a class discussion about which things in the video are solid (Olaf) and which are liquid and gas (the ocean and the clouds).
Next, I read a few snowflake books. My kids love story time, and as I read, we discuss what happens in clouds to make snowflakes. (Basically, I explain that condensation begins to freeze in the clouds and ice crystals begin to form and attach to one another. Each snowflake is different because each ice crystal attaches to the other differently.) Then, we look at the snowflakes the students made and notice that like real snowflakes, no two are exactly the same.
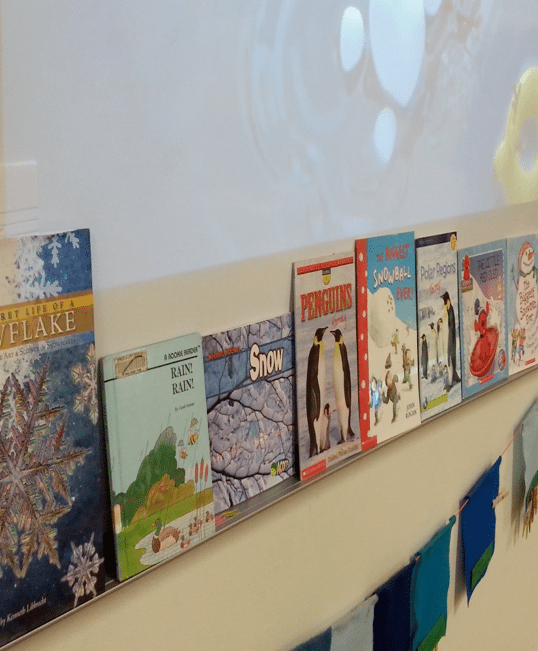
Next, it’s time for independent practice. I ask my students to pretend they are snowflakes. Since this concept is a bit big for little kids, I get them started by asking some leading questions: “What happens first to your snowflake?” or “What does a snowflake do after it leaves the clouds?” I jot down some of the kids’ comments and ideas and write them on the board as a guide.
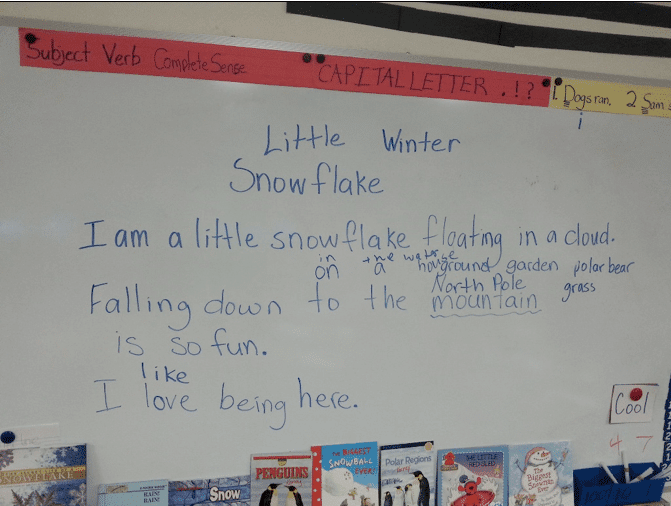
Then I give them their assignment: They need to build a story using their LEGO® Education StoryStarter bricks with a snowflake as the main character. I remind them to make sure their story has a beginning, middle and an end and that it accurately reflects their knowledge of snowflakes.
Then we start to build our stories.
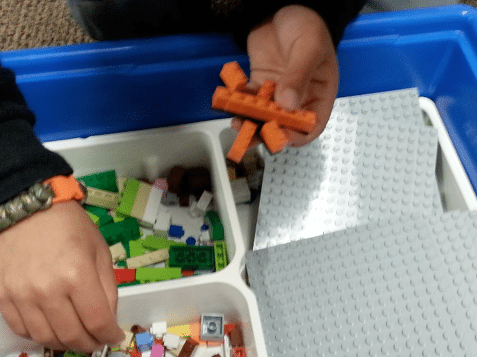
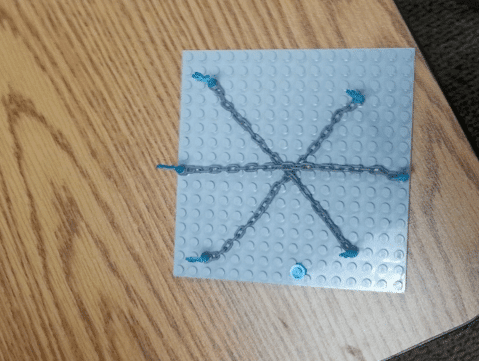
After they build their stories with the StoryStarter set, my students write a rough draft of their stories. Then we work in groups to edit the stories until they are ready with final drafts.
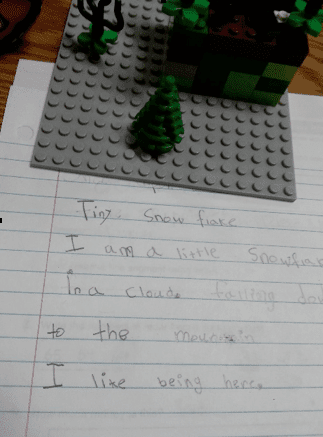
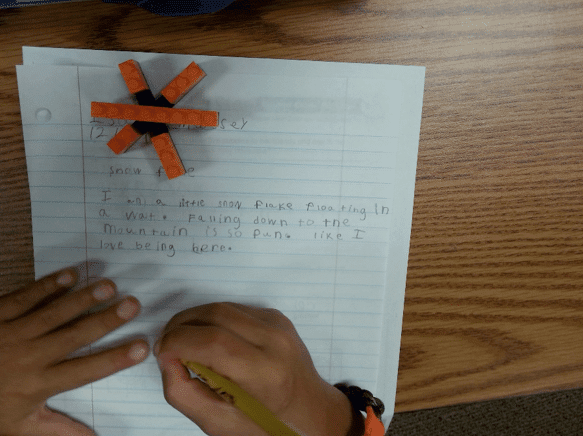
Once the papers are complete, we read our stories aloud in front of the class, and then I send their final papers home to their parents so they, too, can share in our winter wonderland experience!
This article was contributed by first grade teacher Chrissy Knutson.
