
Ione Chu has pretty much seen it all when it comes to creating a school yearbook.
She is the yearbook advisor at Fair Oaks Ranch Community School, an elementary school in Santa Clarita, California, and she’s been working on the school yearbook for nearly 20 years. Ione remembers how involved the yearbook used to be—cutting out actual photos, placing them on a grid sheet, and then shipping off the single hard copy, hoping it wouldn’t get lost in the mail.
“It was very time-consuming,” she says. “Thankfully everything can now be done online. It’s so much faster and easier overall.”
It should be easy, too. With everything educators have going on these days, creating the yearbook needs to be simplified. With that in mind, here are some tips for making the online yearbook process as clear, painless, and uncomplicated as possible.
Read your manual.
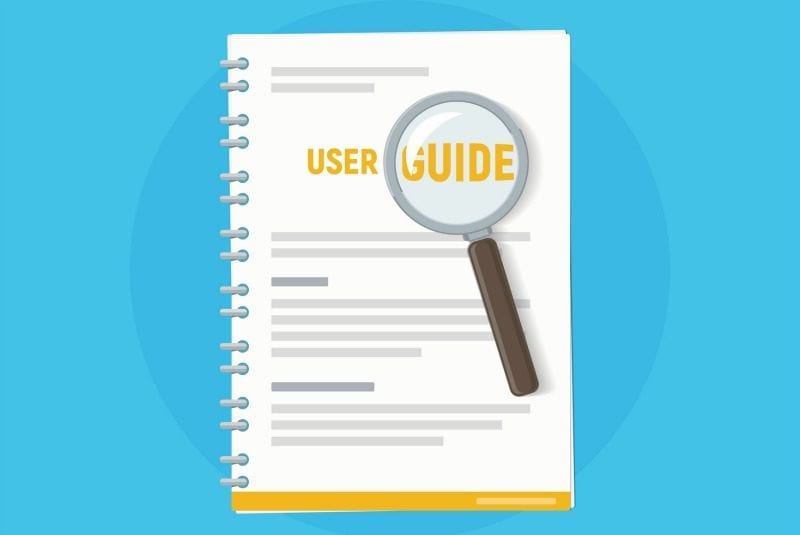
When using an online program or software, it helps to read the manual first. This might seem like an obvious thing to do, but so many people skip this step. “I mostly figured it out on my own because it’s pretty intuitive,” Ione says of the online program she uses with Remember Me. “But the directions in the manual were easy to understand and self-explanatory.”
Ask for help when you need it.

Sometimes you just need to be able to reach out and talk to a real person. Ione says any time she had a question with her school’s yearbook, she emailed the tech team, and she got an answer within 24 hours. “You need good tech support,” she says. “When you have an issue or concern, you want an answer right away.”
Make friends with your PTA.

The PTA can be your one of your best sources of photos for the yearbook. At Ione’s school, the PTA is very involved in planning activities, so they naturally go to the events and take pictures. Your PTA might even post the pictures on a website. Take advantage of this resource. Get the PTA to share those pictures with you for your yearbook pages. If you see something you like posted online, ask them for the photo.
Make friends with your teachers.
This is another group that has great pictures to share. Teachers often take candid pictures in their class and share them on their own classroom websites or social media channels. If you can get teachers to share these with you, then you’ll be ahead when you’re putting together the pages that show everyday classroom life.
Use a dedicated email where people can send pictures.
Now that you are friends with the PTA and the other teachers at your school, give them a single email they can use for sending in pictures. This could easily be a Gmail account you create just for the yearbook. If you use Gmail, try organizing things in Google Drive. Even if you still get pictures through other sources, you can then just forward them to your yearbook email so everything is in one spot.
Stay organized by creating lots of folders.
If you are using email to receive photos, then make use of the digital organization within the system. By creating folders based on seasons or activities that will be pictured in the yearbook, you can have all your photo options in one spot. Then you just have to sort and choose the best. Ione says you can then replicate your folders online in the software you use. “When I import my pictures to the site, I create separate folders right away,” she says. “This makes it easier when you are creating the pages.” Another trick when uploading online photos is to solicit help. Many programs allow you to assign roles to people like “Contributor.” So if you have someone helping out with photos or even serving in a photo editor role, it makes it easy to stay organized.
Document events and activities as they happen.

When you create your yearbook online or by using software, you can work on it a little at a time and save it as you go. This is good for tackling the yearbook in small segments. If you have a big event (or sports season, etc.), go ahead and get those pages done. Then you just have to hit the save button until you’re ready for the next section.
Have an outsider view your pages.
Working online can be challenging, and sometimes mistakes can slip by easily. This is why it’s good to get an outsider to review the pages in your yearbook. In the Remember Me system, you can print out each page or assign someone a Proofing Role. Have them check for spelling mistakes or typos as well as the photos in general.
The best photos are ones where the kids are looking at the camera—not the backs of their heads. Also, try to include many different faces in your yearbook pages so you can get in as many students as possible.
Are you ready to start putting your school yearbook together online? Get this special offer for 15% off your yearbook order!